Linux / MAC
Estimate time: 20 minutes (approximate)
Prerequisites
Before starting the installation, ensure your system meets the following requirements:
1. Software Installation & Configuration
- Docker: Install Docker Engine. Follow the official guides for Linux or MAC.
- Docker Compose (V2): Ensure
docker composeis installed and accessible. - Permissions: Ensure your user account has permissions to run Docker commands (added to the
dockergroup) or you havesudoaccess.
2. System Resource Requirements
Running the entire formsflow.ai stack requires sufficient system resources. Ensure Docker is allocated at least:
- Memory (RAM): Minimum 4 GB (8 GB or more recommended). Your machine should have at least 8 GB-16 GB total RAM.
- CPUs: Minimum 4 Cores.
- Disk Space: At least 10 GB of free disk space.
3. General Requirements
- Active Internet Connection: Required to download the installer ZIP and pull Docker images (approx. 2-3 GB).
- Web Browser: A modern web browser (e.g., Google Chrome, Mozilla Firefox, Safari) to access the formsflow.ai UI.
Step 1: Download the GitHub Repository
In this initial step, download the Forms Flow AI Deployment GitHub repository by simply clicking Here
A zip file will be downloaded.
Step 2: Extract the downloaded .zip file
[!NOTE] The steps in this section show a Linux file manager (e.g. Nautilus). macOS users follow the same flow using Finder — the folder structure and script names are identical.

Now double click and open the extracted folder and go to the scripts directory:
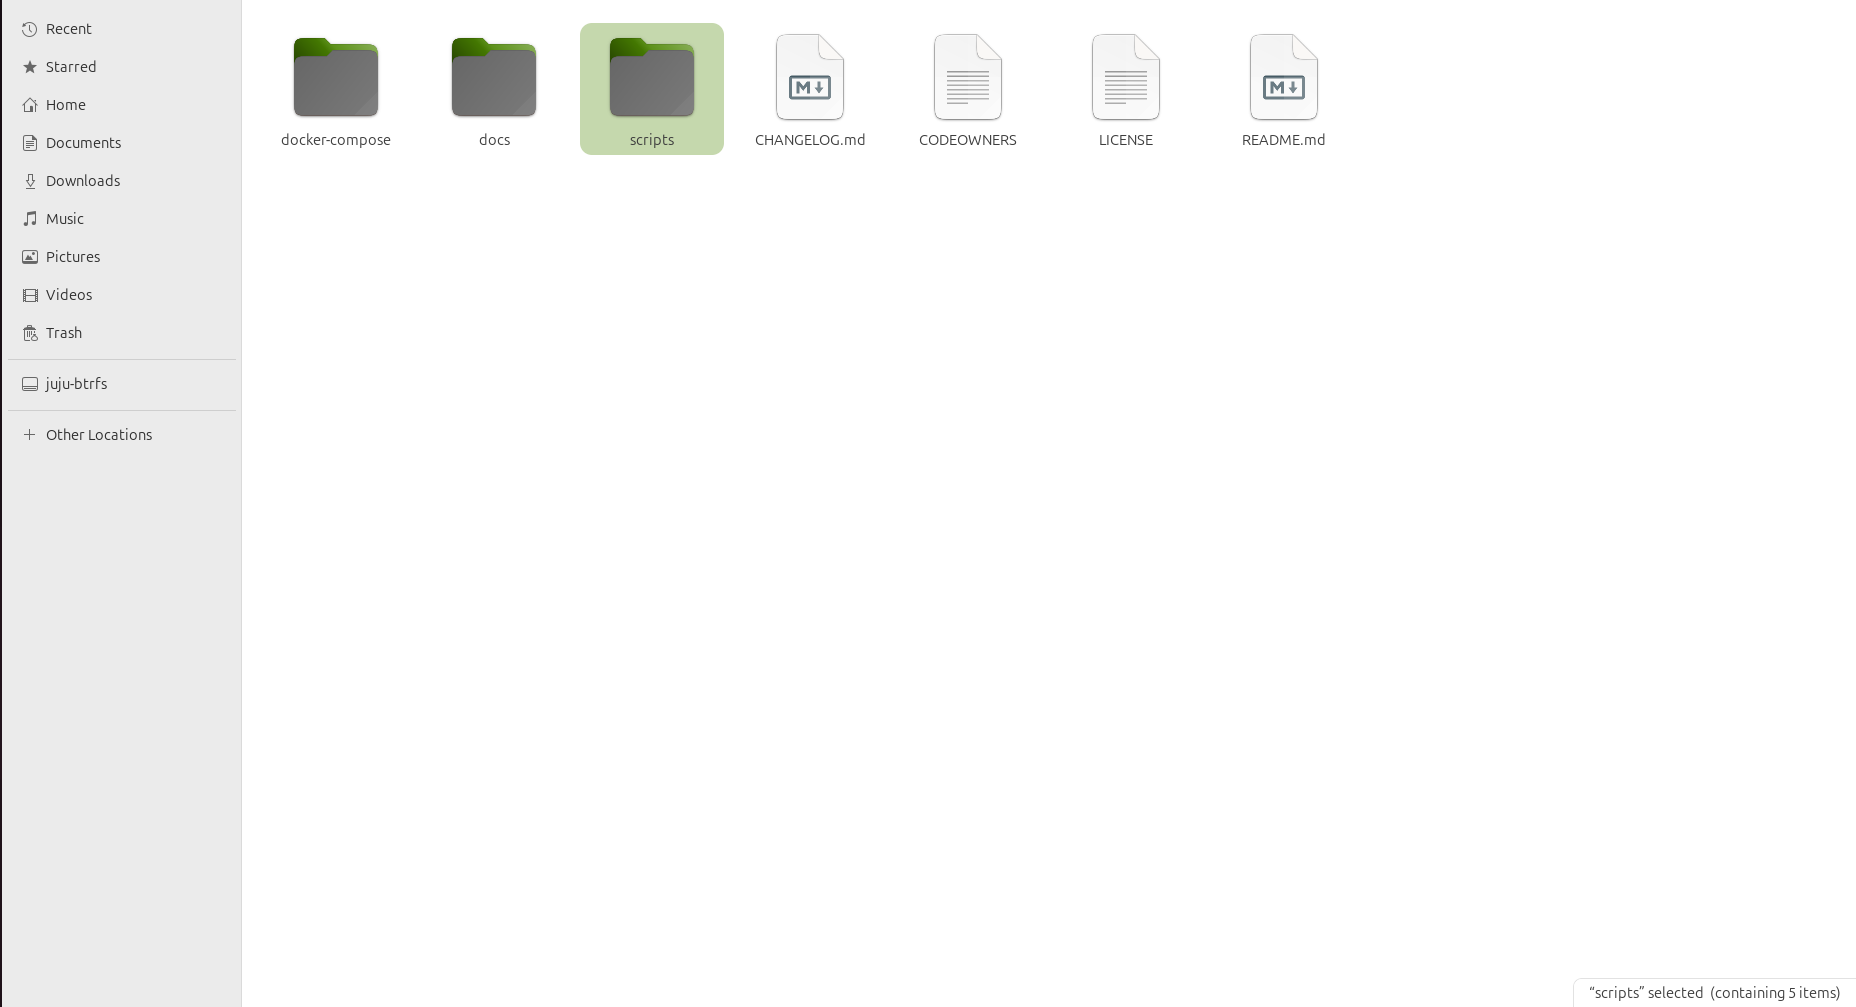
There you can see install.bash file:
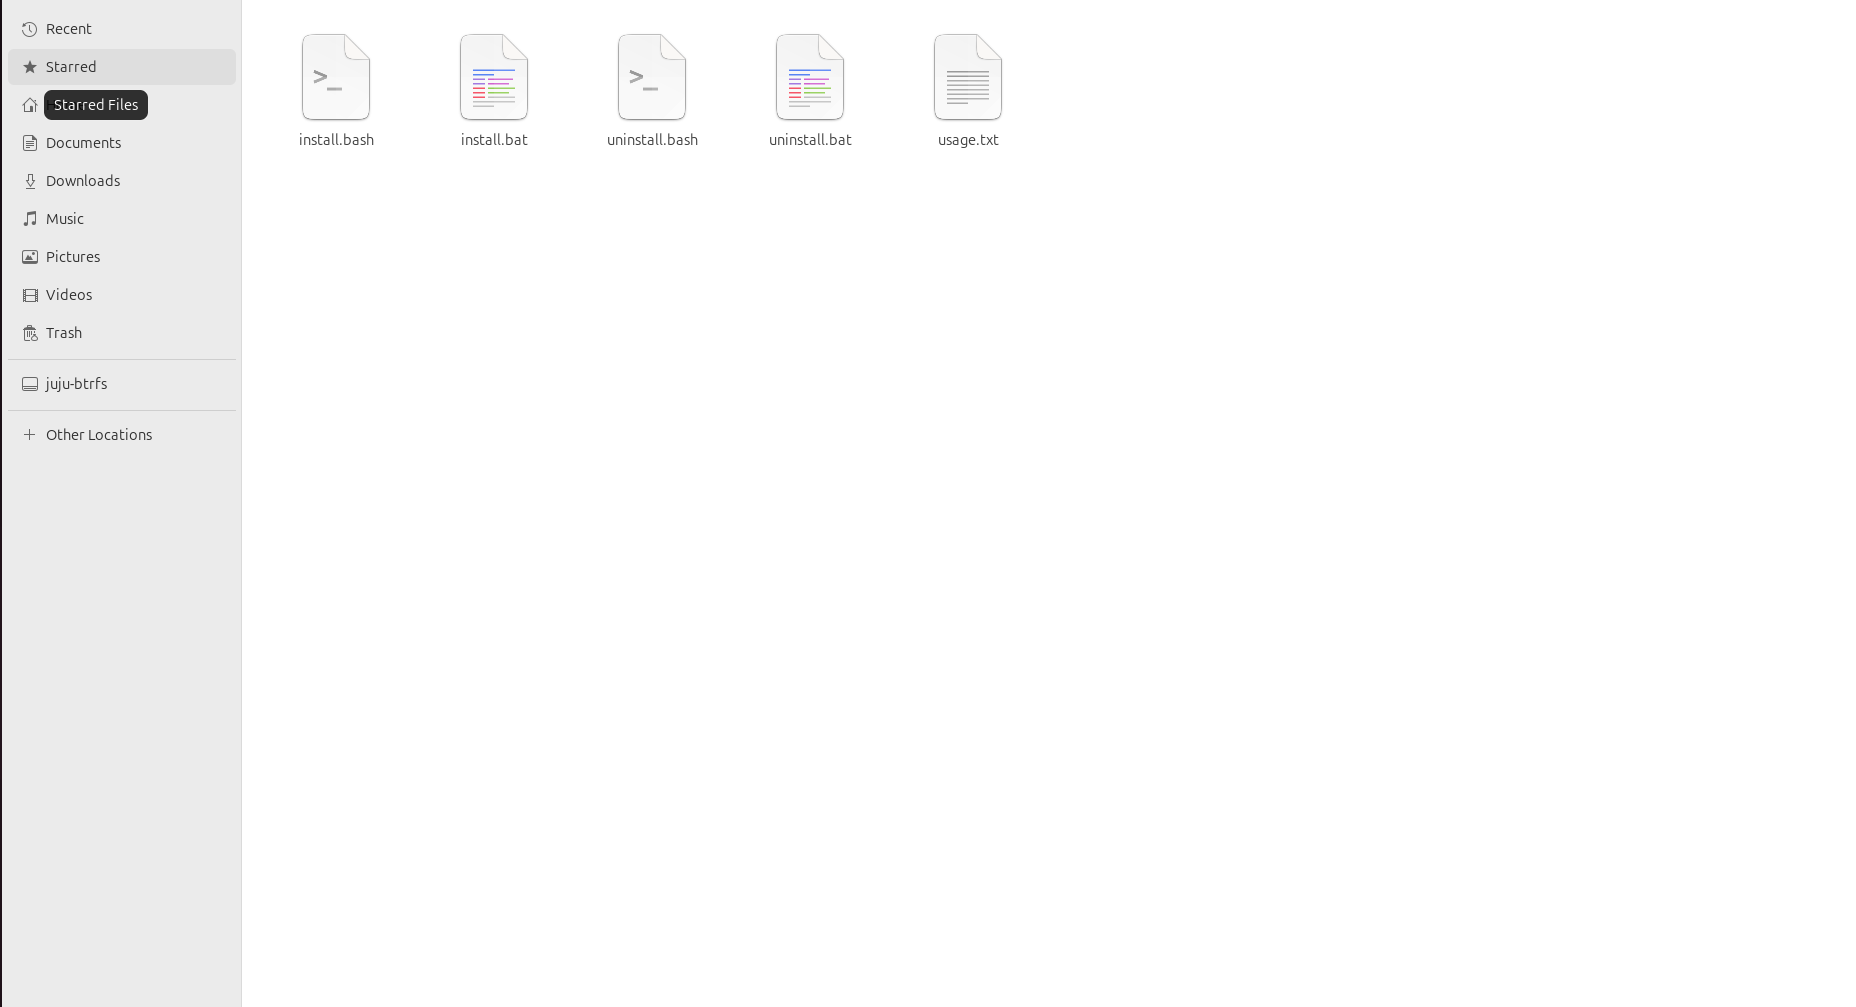
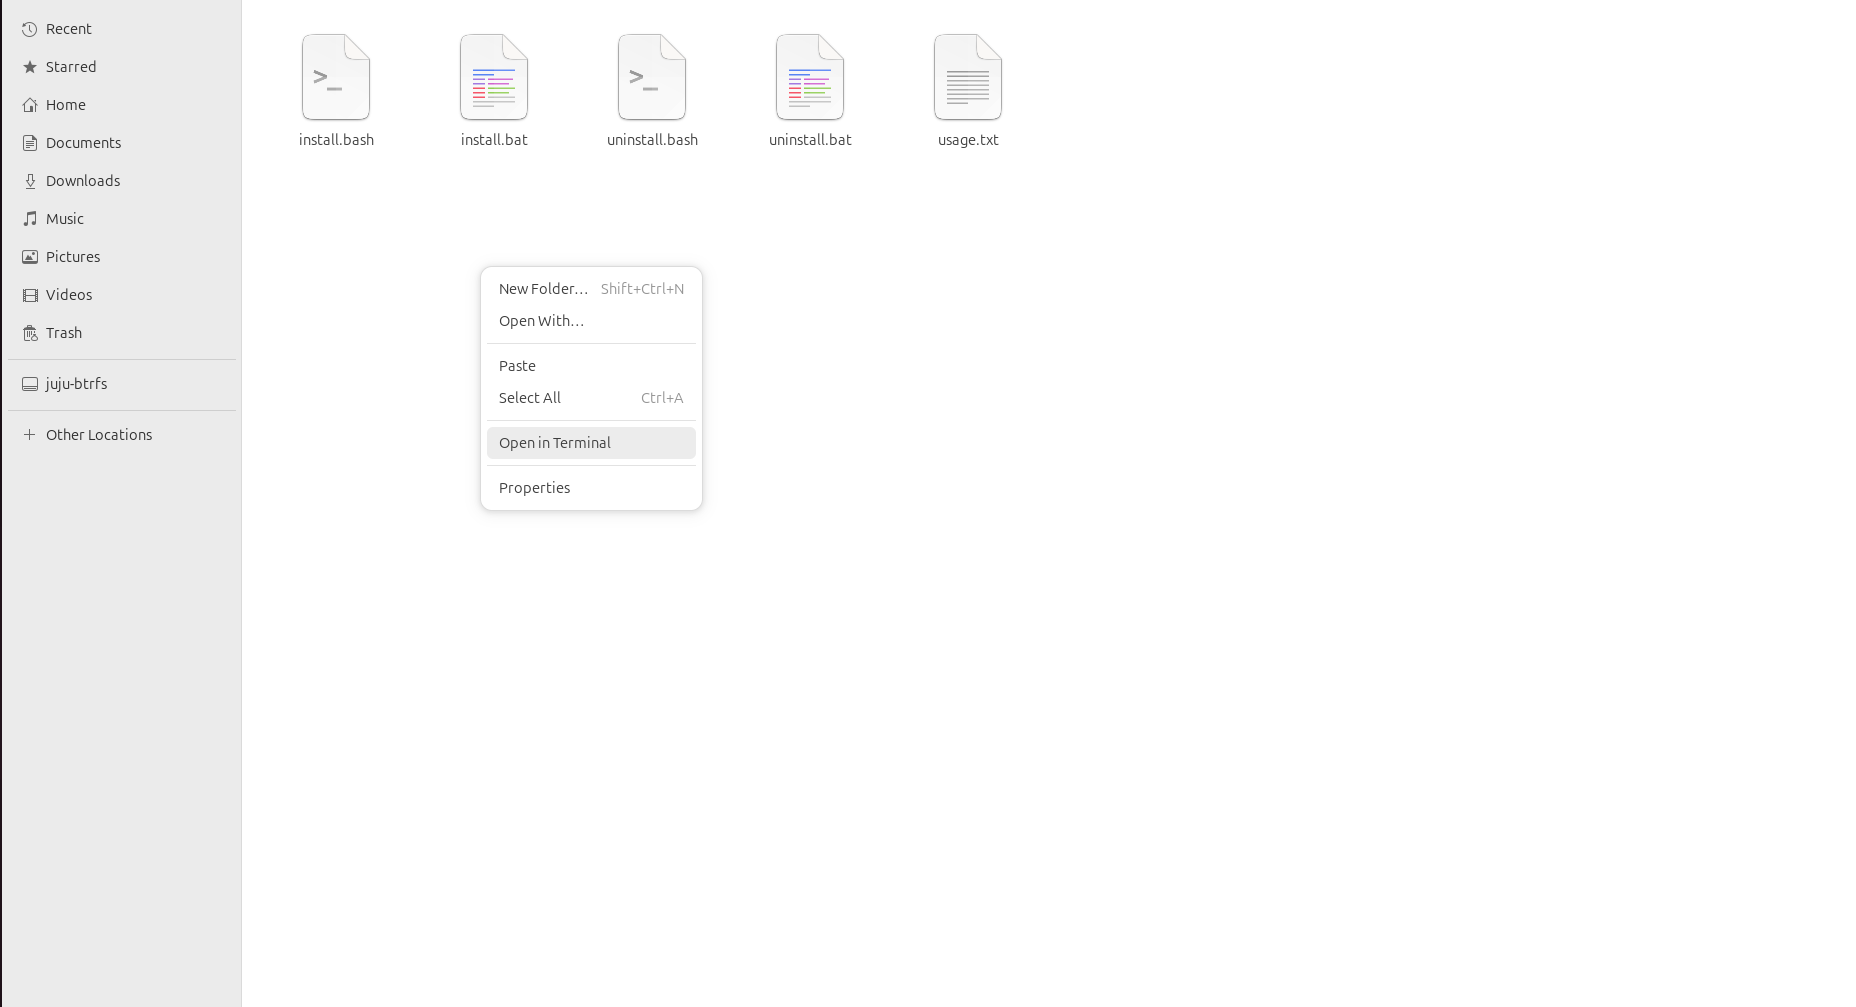
Now open a terminal inside the scripts directory:
- Linux: Right-click anywhere in the file manager and click Open in Terminal.
- macOS: Right-click the
scriptsfolder in Finder and select New Terminal at Folder. If this option is not visible, open the Terminal app (Applications > Utilities) and run:cd /path/to/extracted-folder/scripts
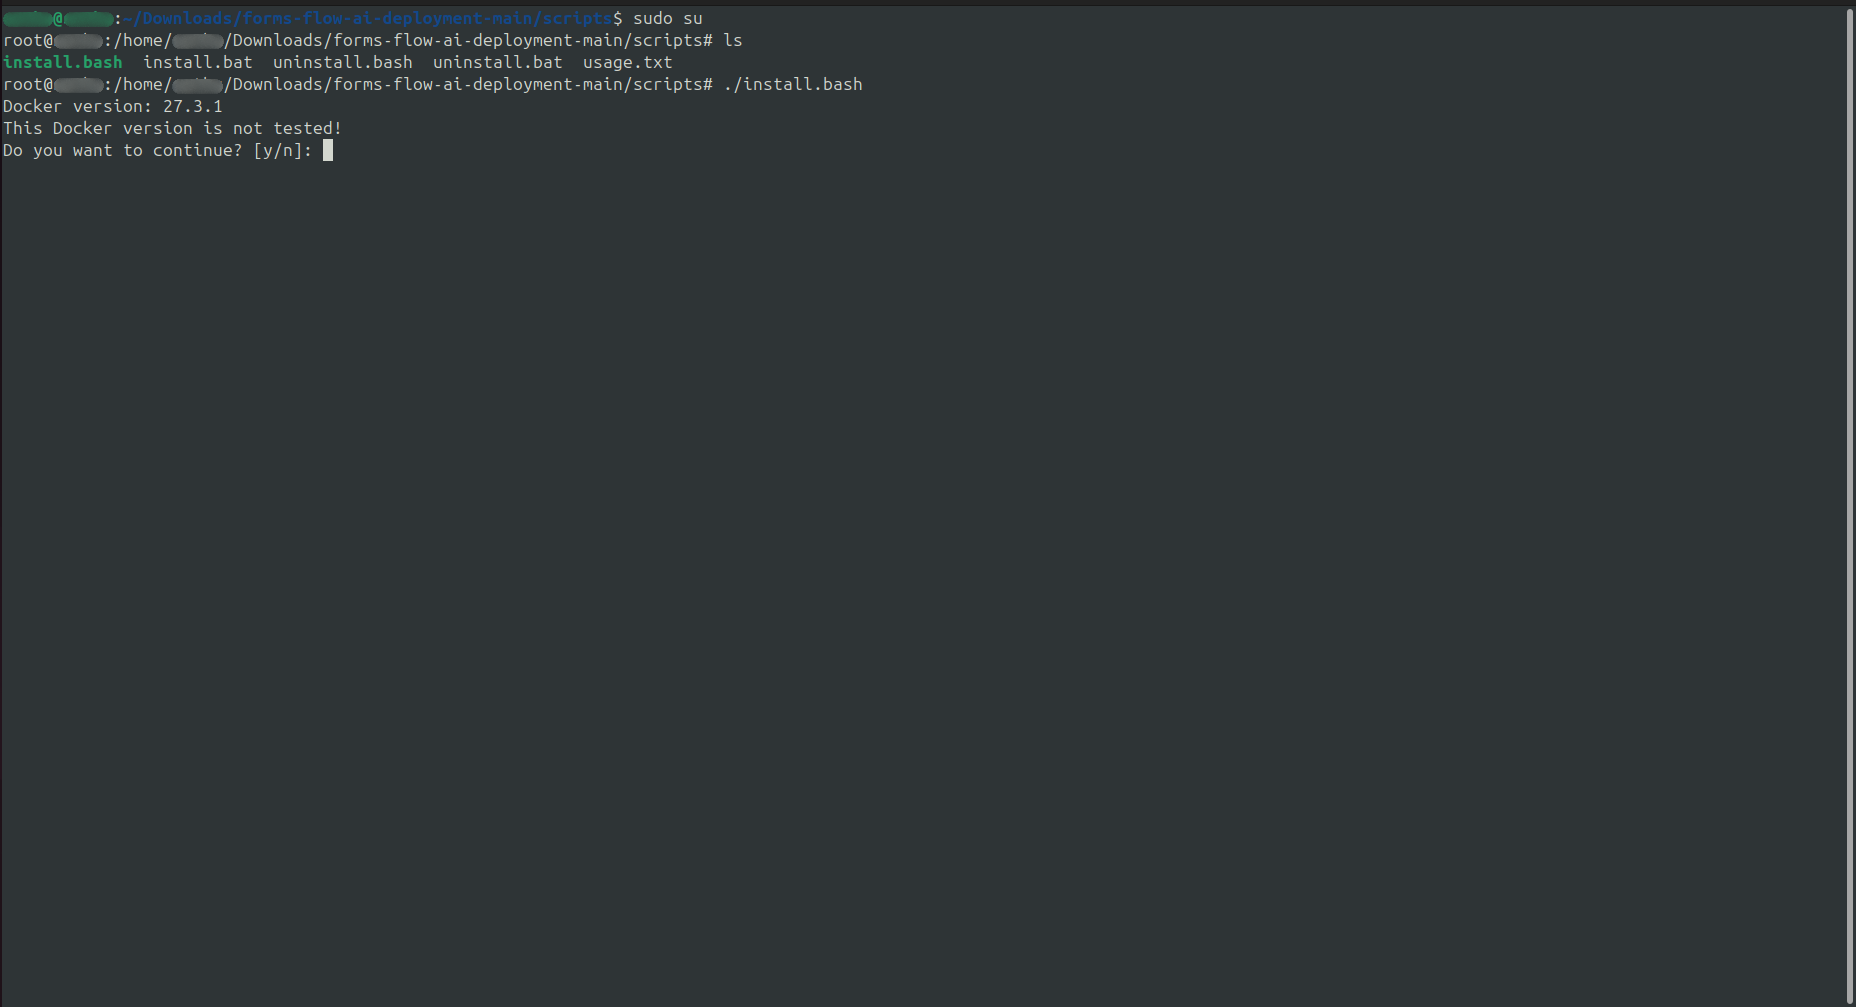
Now type sudo su in the terminal to gain elevated privileges which is required for the installation procedure:
[!NOTE] Linux:
sudo suswitches you to the root user. If prompted, enter your user password.macOS:
sudo suworks the same way. Alternatively, you can prefix each command withsudoinstead of switching to root.
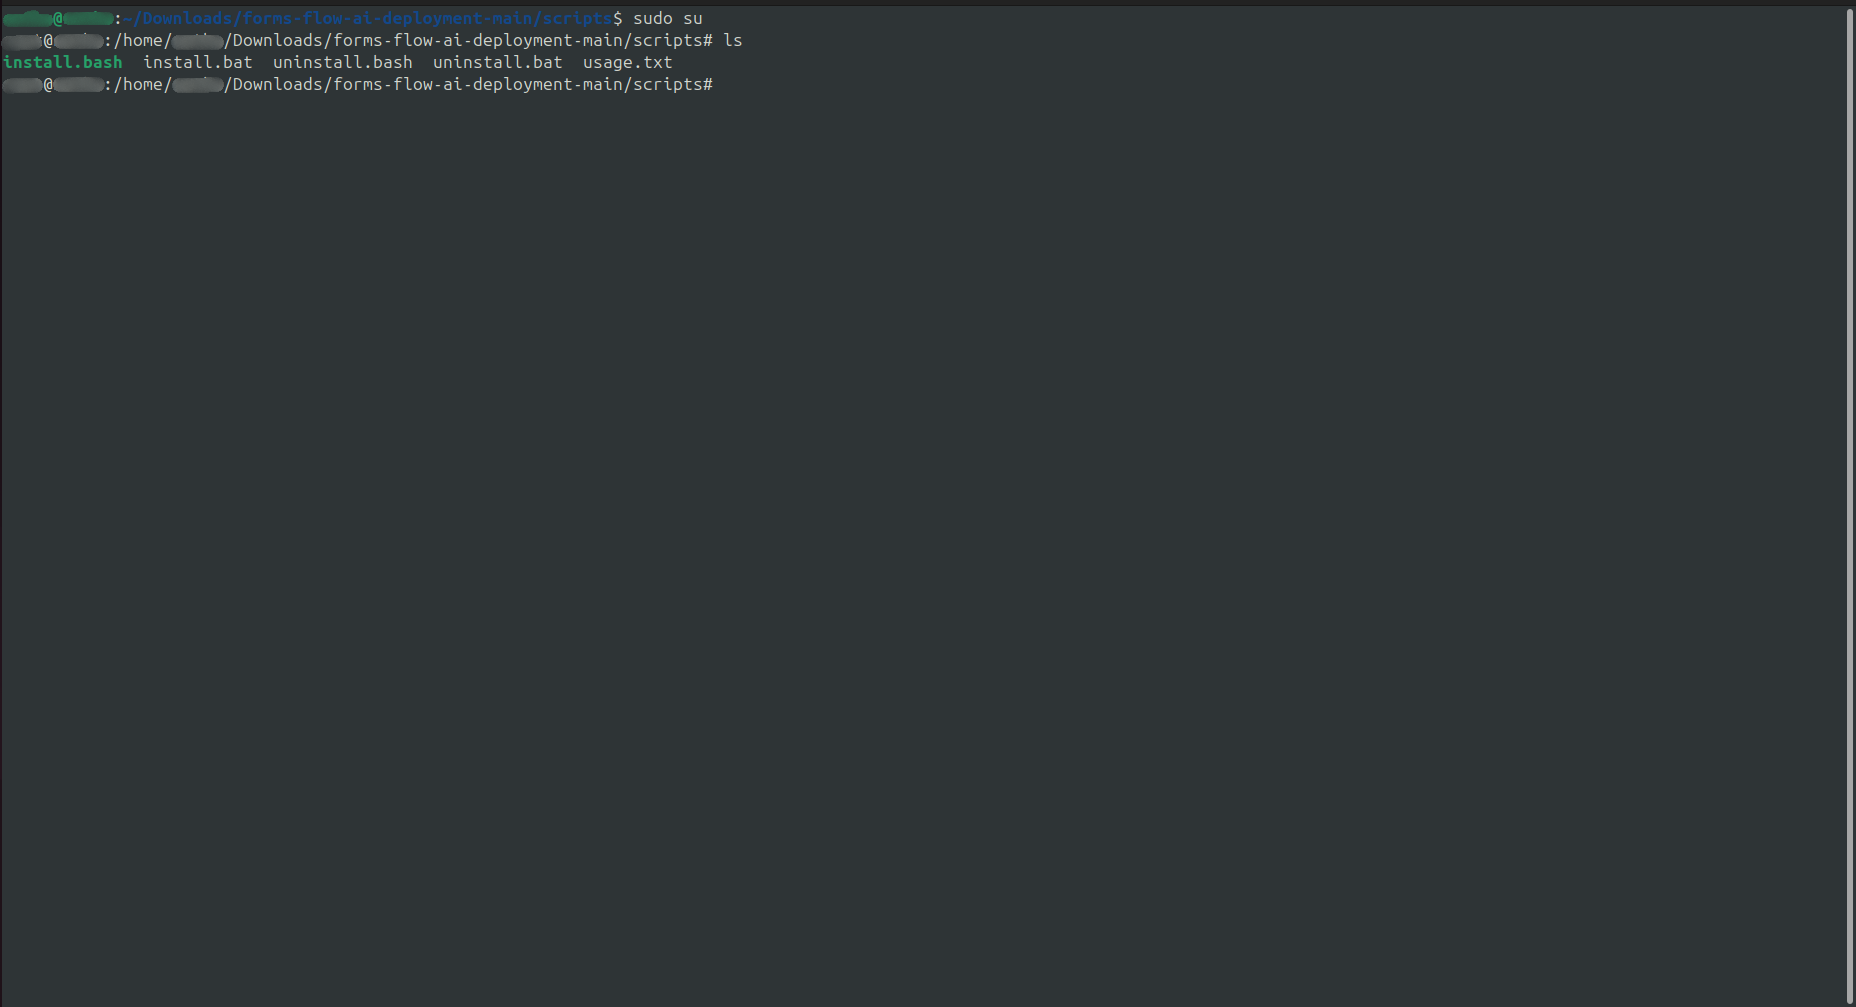
- You can type
lsto see the install.bash file there
Step 3: Install using install.bash file
First, give the script executable permission, then run it:
chmod +x install.bash
./install.bash
- It may ask Do you want to continue because it may not have been tested on your Docker version. Just enter
yand proceed with the installation.
a) Verify the IP address shown is correct. If it is correct, enter y, otherwise enter n to provide the correct IP:
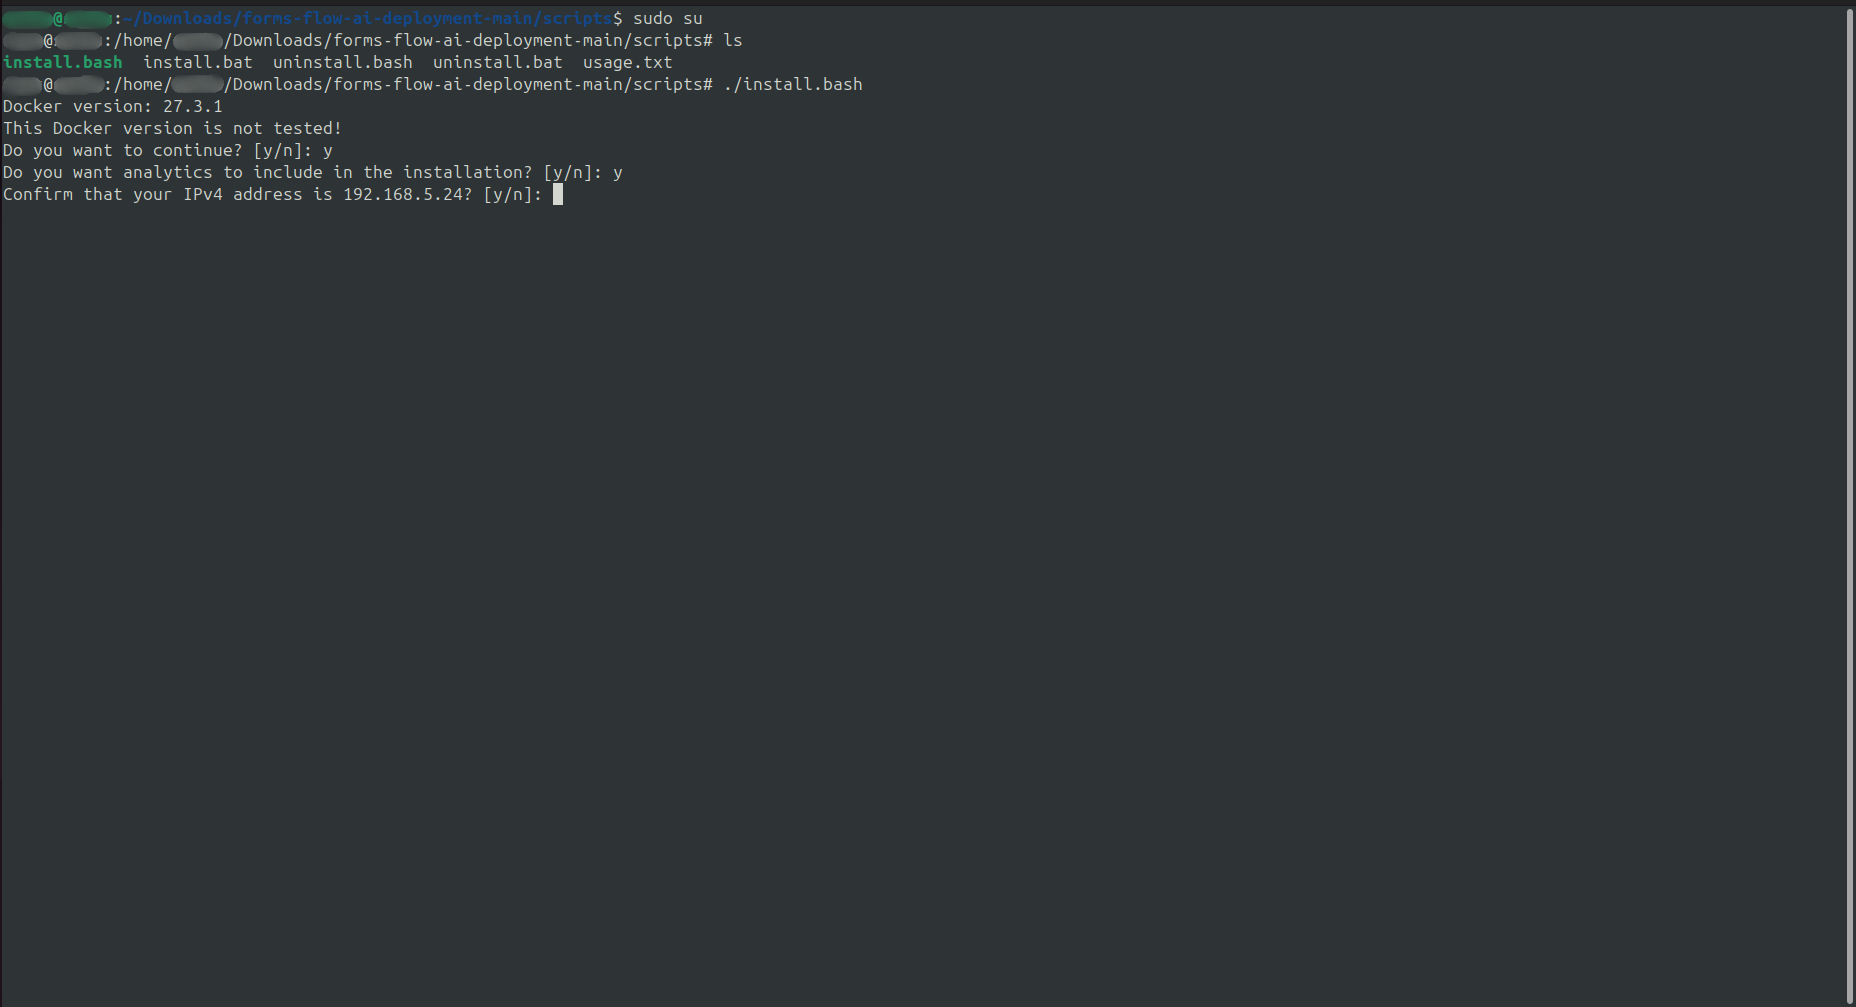
b) When asked whether to install Analytics, enter y to include Redash, or n to skip:
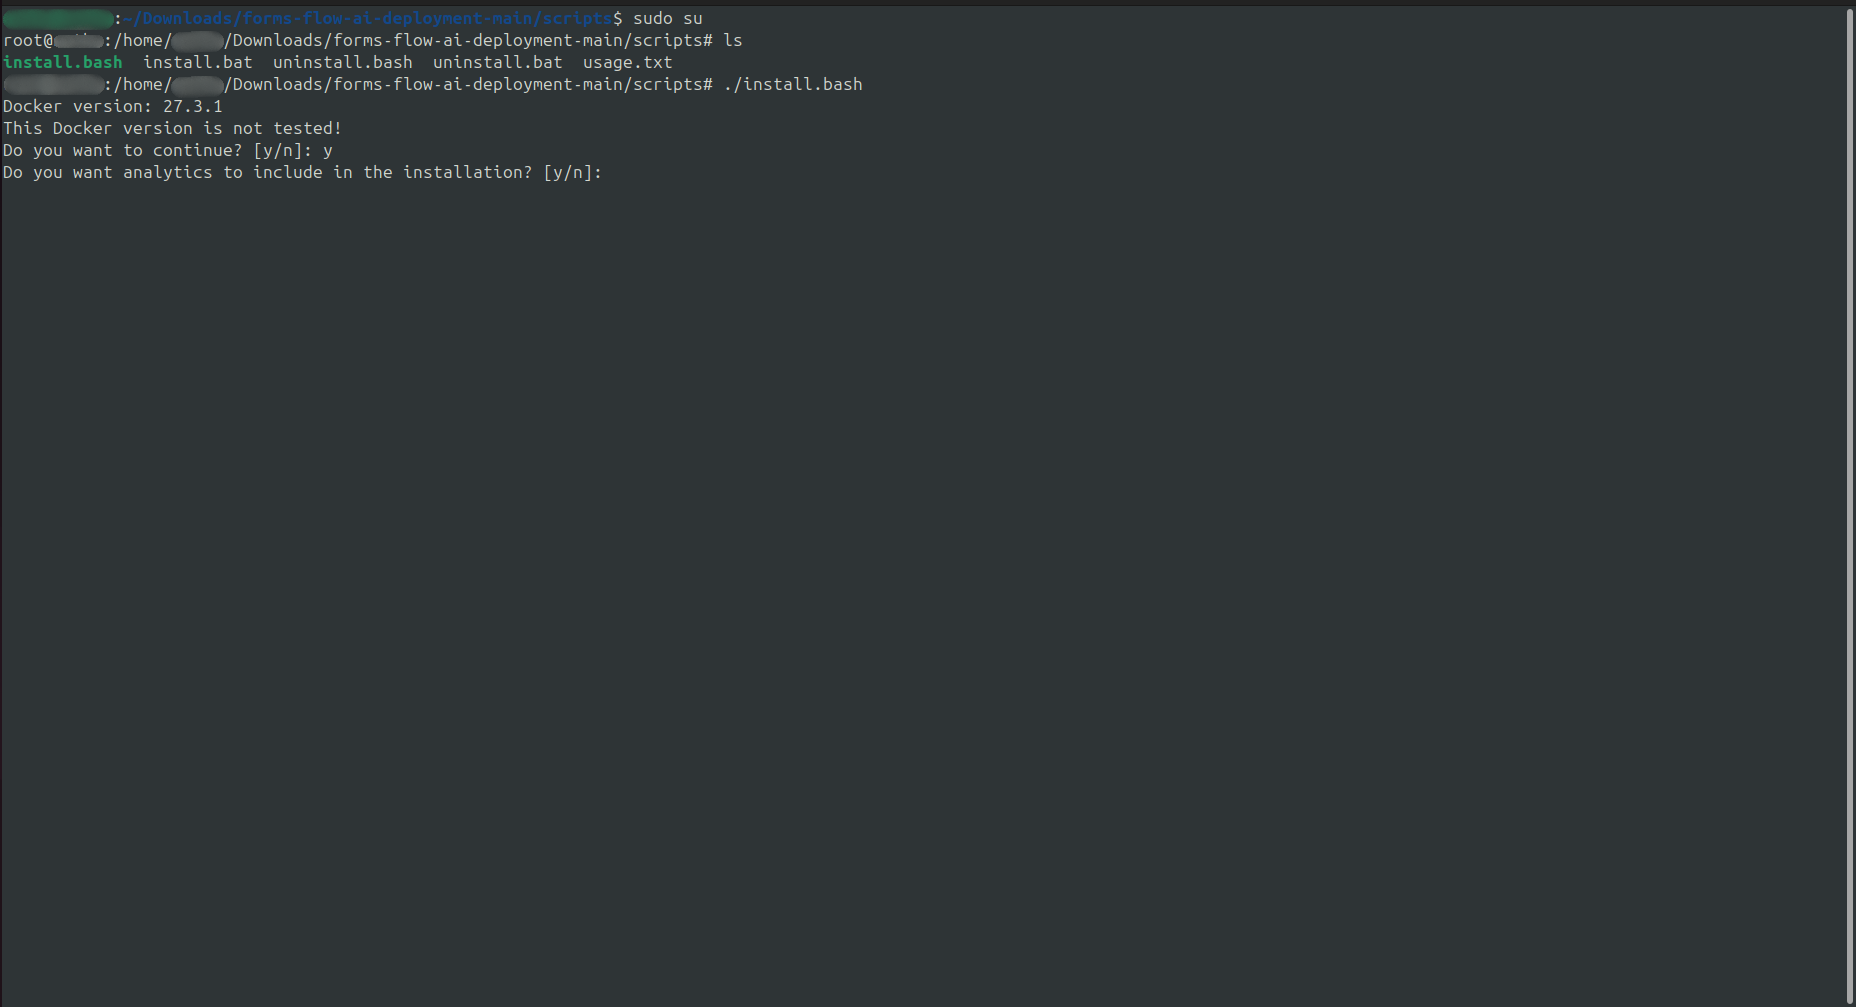
- If you need the Redash Analytics Engine, provide
y. (To learn more, visit Redash).
c) The installer will then ask for a Redash API Key:
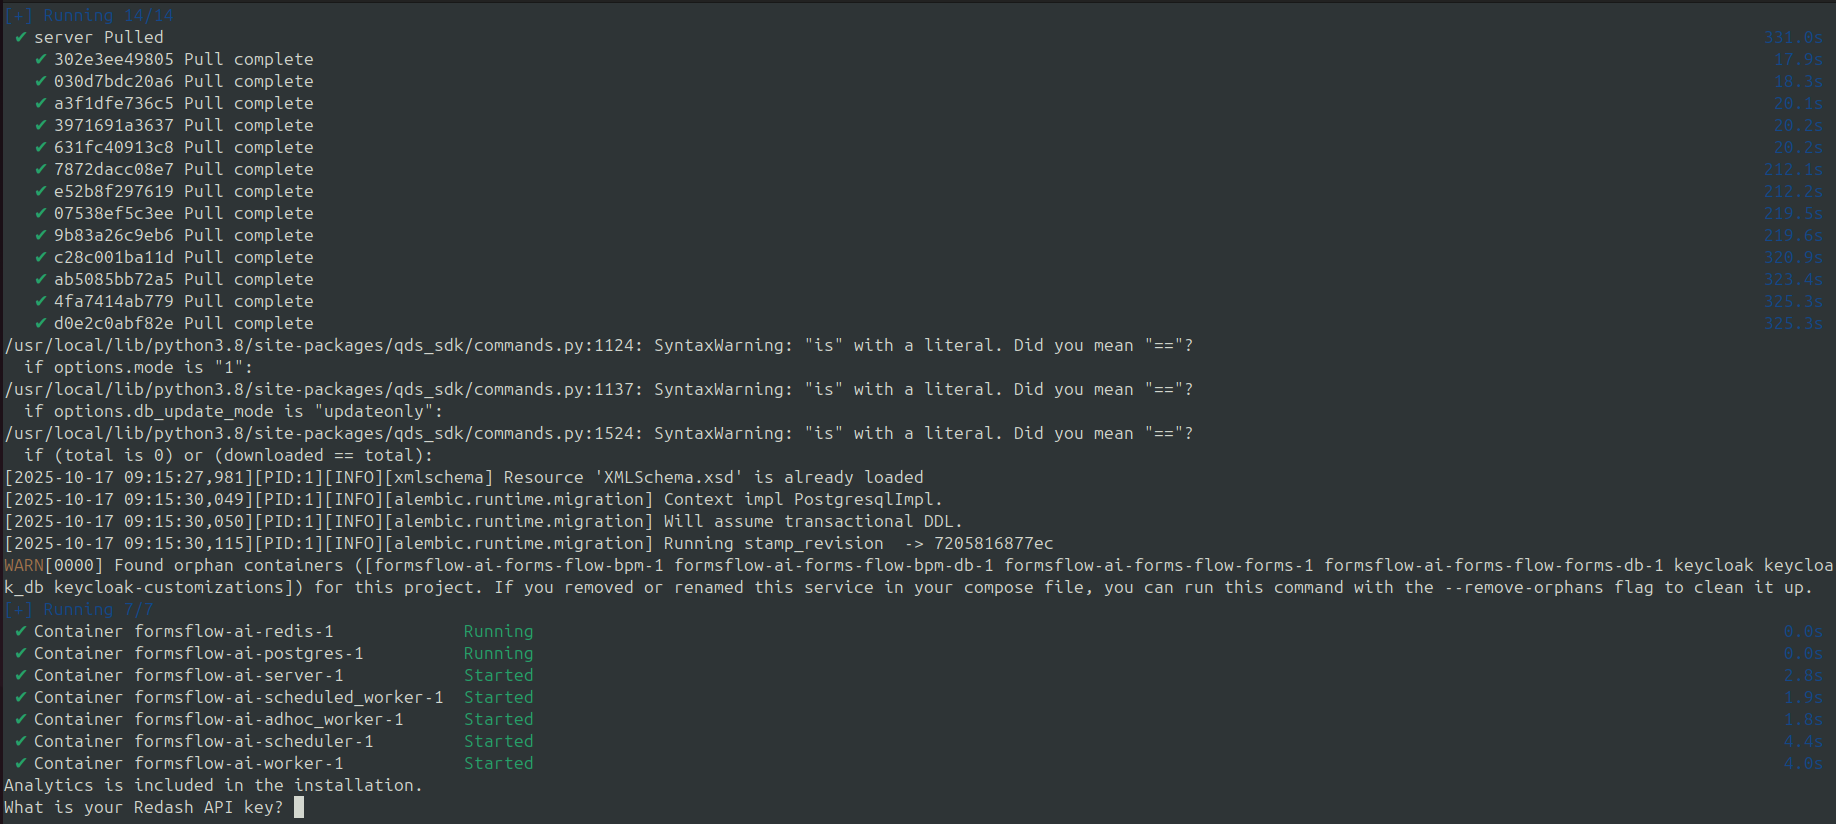
-
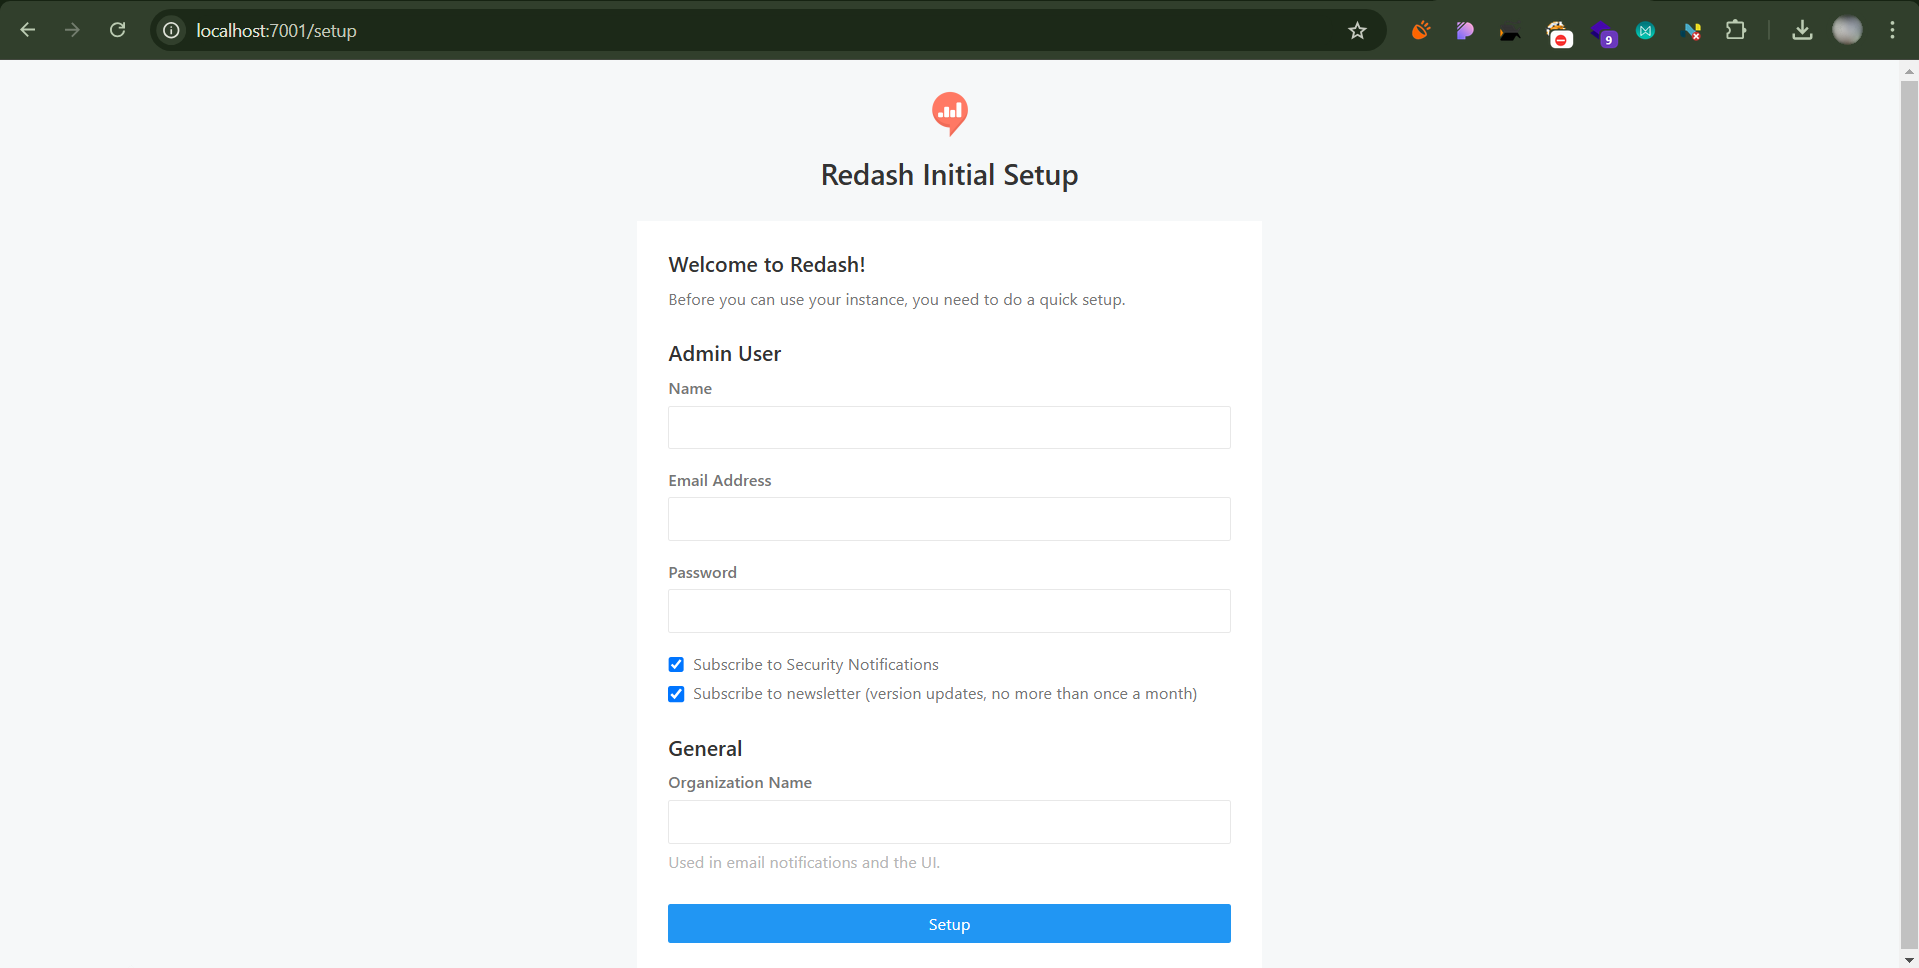
The Redash application should be available for use at port defaulted to 7000. Open http://localhost:7001/ on your machine and register with any valid credentials:
-
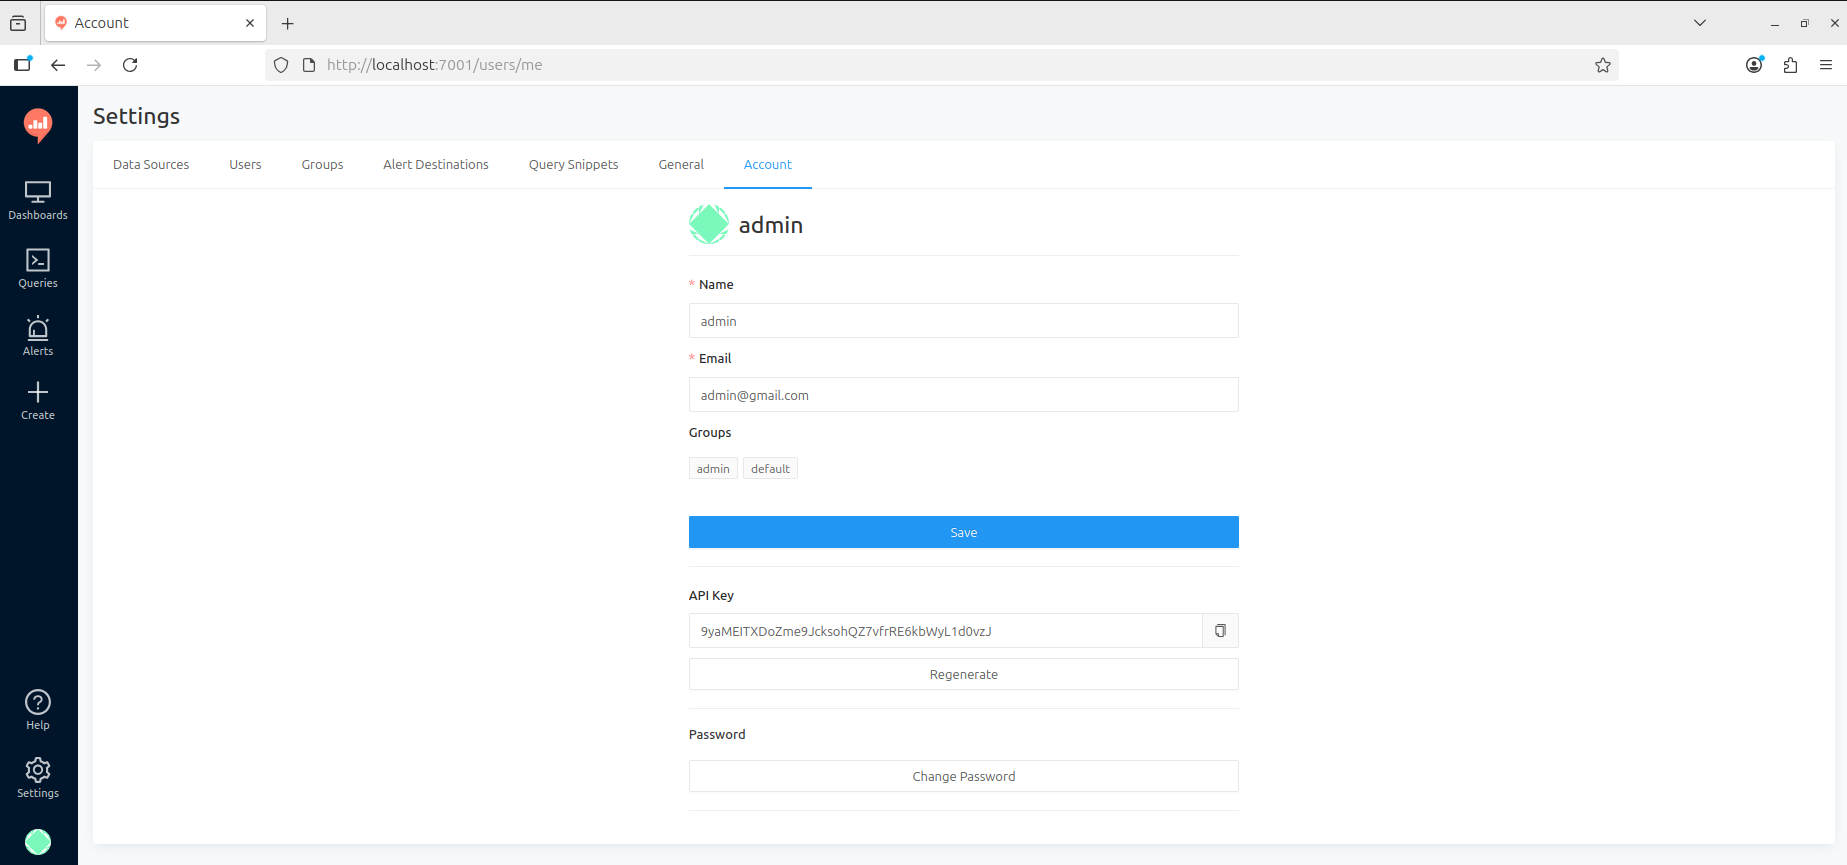
The API Key can be found at Settings > Account > API Key.
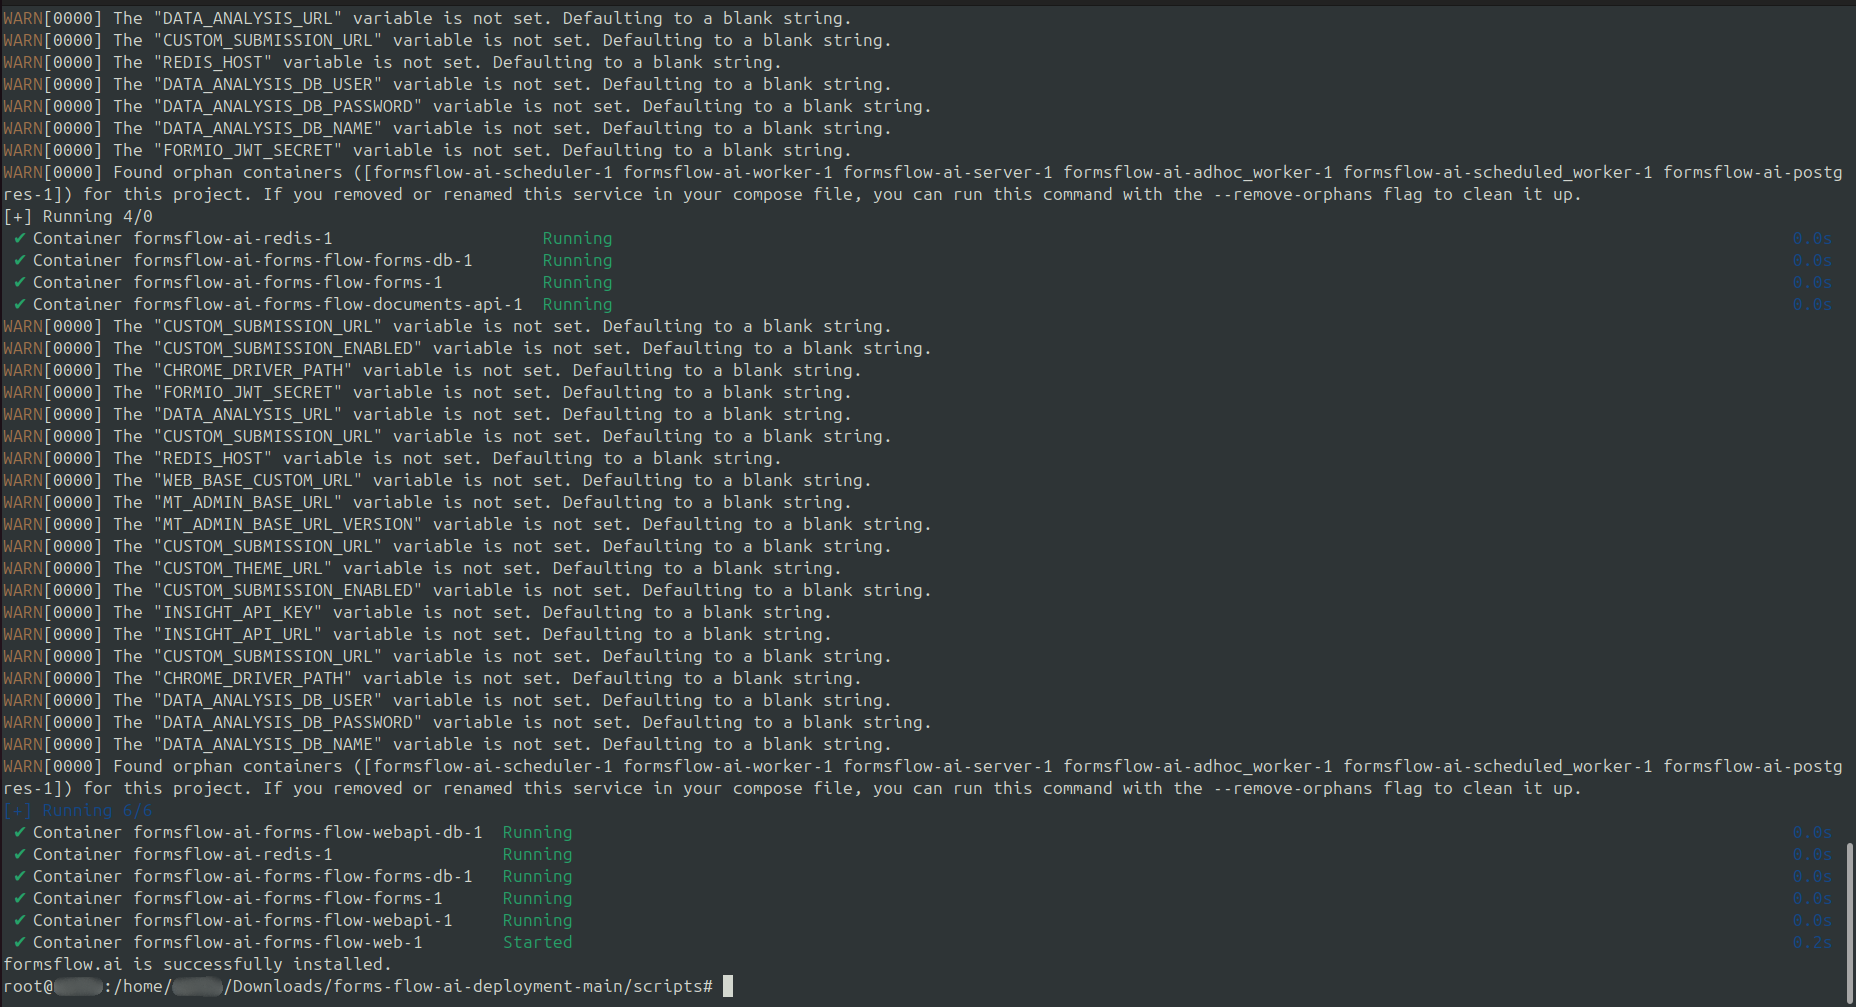
d) After the installation process has been completed it will show formsflow.ai is successfully installed.
Once successfully installed, you can access the formsflow.ai web application in your browser via http://localhost:3000 or http://{your-ip-address}:3000.

Step 4: Mail-Configuration
For the email-configuration, follow the steps below:
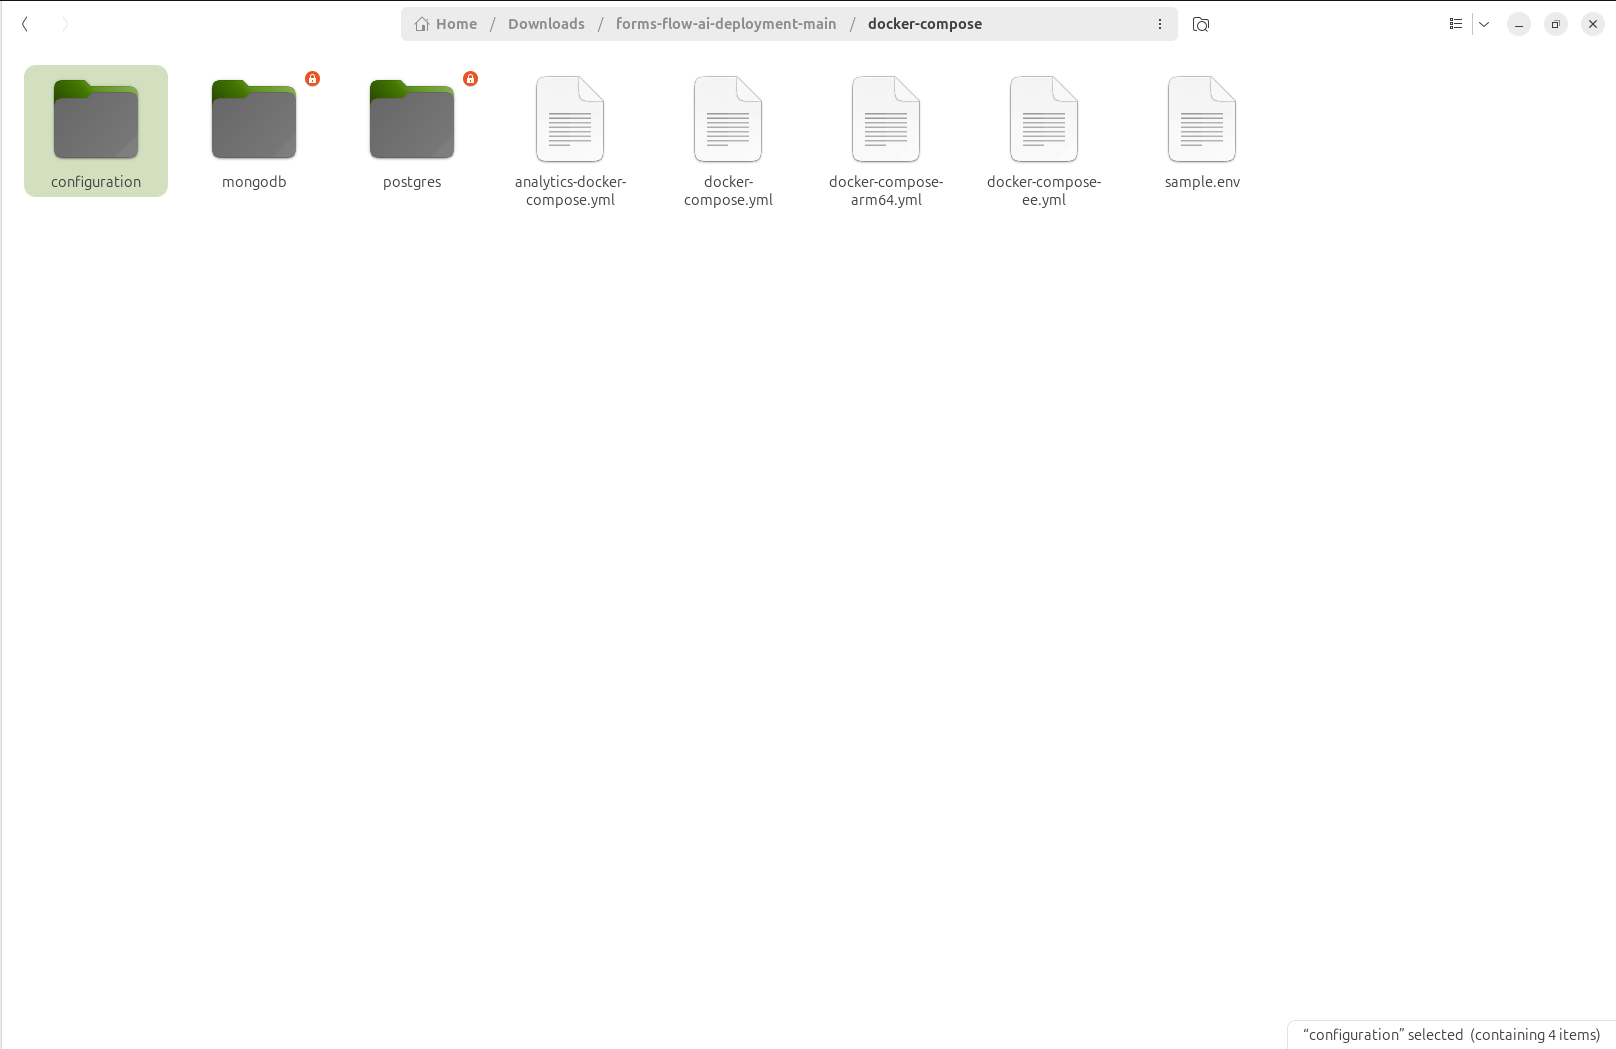
Create a folder inside the configuration folder(Inside docker-compose directory) named bpm-mail-config.
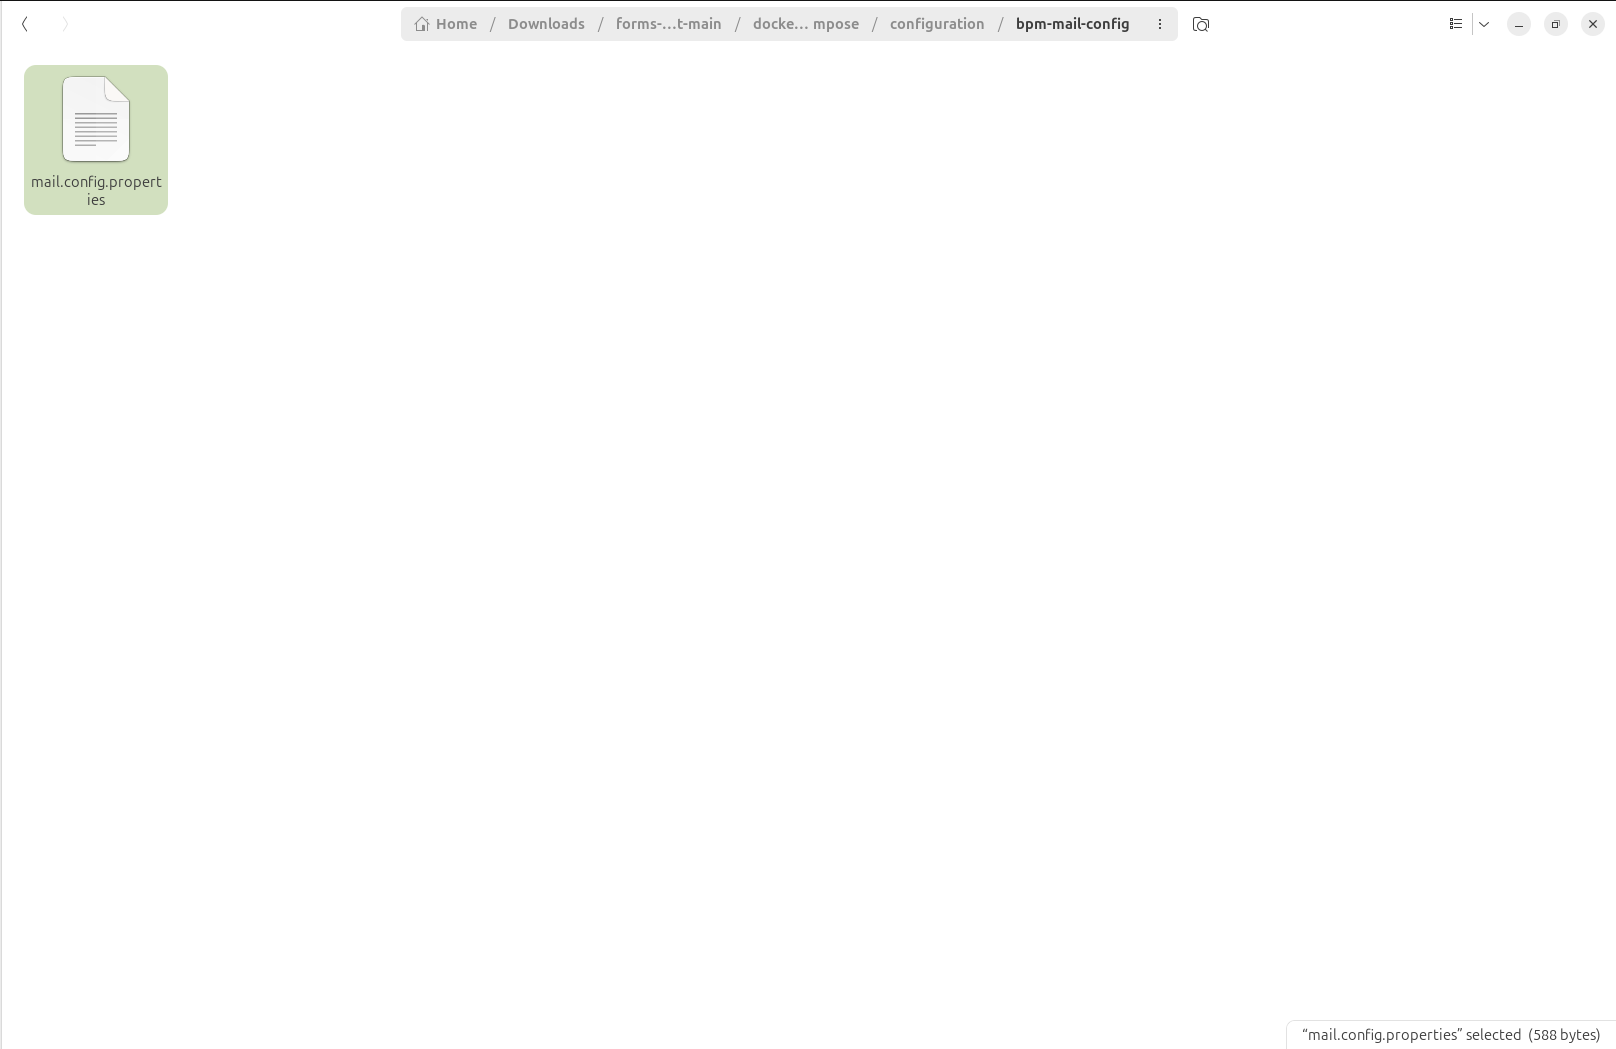
Create a file name mail.config.properties inside the bpm-mail-config folder that just created and copy the below contents and update the values as needed:
# Send mails via SMTP. The given settings are for Gmail
mail.transport.protocol=smtp

mail.smtp.host=smtp.gmail.com
mail.smtp.port=465
mail.smtp.auth=true
mail.smtp.ssl.enable=true
mail.smtp.socketFactory.port=465
mail.smtp.socketFactory.class=javax.net.ssl.SSLSocketFactory

# Poll mails via IMAPS.
mail.store.protocol=imaps
mail.imaps.host=imap.gmail.com
mail.imaps.port=993
mail.imaps.timeout=10000

mail.sender=donotreply
mail.sender.alias=DoNotReply

mail.attachment.download=true
mail.attachment.path=attachments

# Credentials
mail.user=CHANGEME@gmail.com
mail.password=CHANGEME
- Now run the container to verify the changes.
Verifying the Installation status
The following applications will be started and can be accessed in your browser.
| Srl No | Service Name | Usage | Access | Default credentials (userName / Password) |
|---|---|---|---|---|
| 1 | forms-flow-web | formsflow Landing web app | http://localhost:3000 | formsflow-admin/changeme |
| 2 | Keycloak | Authentication | http://localhost:8080 | admin/changeme |
| 3 | forms-flow-forms | form.io form building (Note: Form.io UI is disabled by default). This must be started earlier for resource role id's creation | http://localhost:3001 | admin@example.com/changeme |
| 4 | forms-flow-analytics | Redash analytics server, This must be started earlier for redash key creation | http://localhost:7001 | Use the credentials used for registration / Default user credentials |
| 5 | forms-flow-api | API services | http://localhost:5001 | Authorization token from keycloak role based user credentials |
| 6 | forms-flow-bpm | Camunda integration | http://localhost:8000/camunda | Default user credentials |
| 7 | forms-flow-data-layer | GraphQL integration | http://localhost:5500/queries |
Uninstall Formsflow (Optional)
Uninstalling is optional and can be performed whenever you wish to remove the formsflow.ai stack from your machine. To uninstall formsflow installed through quick installation, follow the steps:
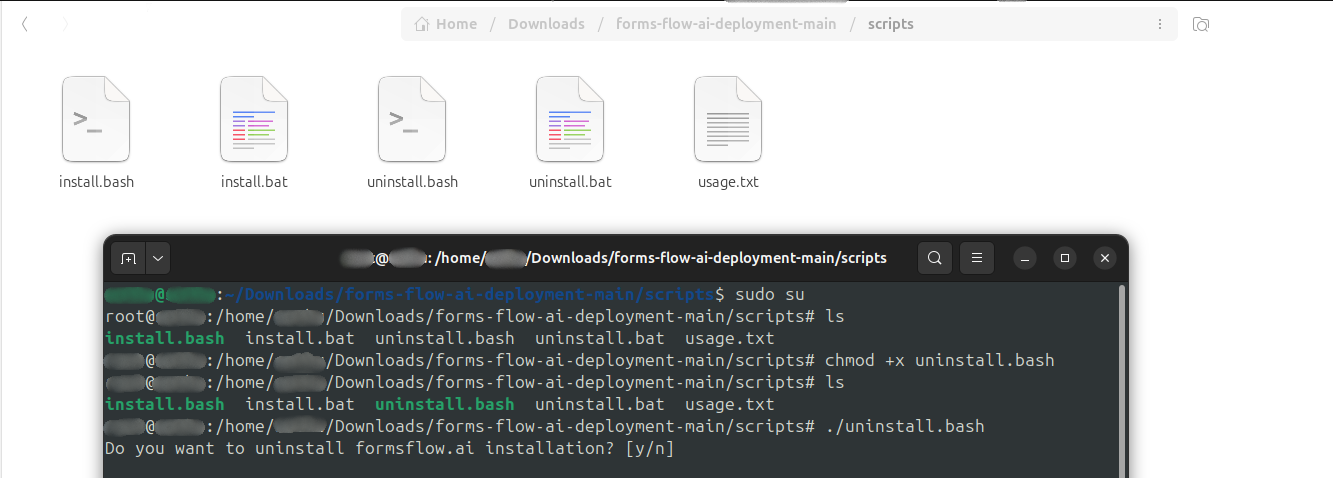
- Go to the folder you extracted earlier and navigate to the
scriptsdirectory. You will see the uninstall.bash file there. - Open a terminal in that directory:
- Linux: Right-click anywhere in the file manager and click Open in Terminal.
- macOS: Right-click the
scriptsfolder in Finder and select New Terminal at Folder.
- Give the script executable permission and run it:
chmod +x uninstall.bash
./uninstall.bash- If you run
lsyou can see uninstall.bash highlighted in green, confirming it now has executable permission.
- If you run
- When prompted, enter
yto confirm and proceed with the uninstallation.
If you face any issues while installing ,please connect with us.
Frequently Asked Questions (FAQ)
This section covers common issues, error messages, and troubleshooting steps encountered during the installation and setup of formsflow.ai.
Q: "Port is already allocated" or connection errors (e.g., port 3000, 8080, 3001)
[!WARNING] This error occurs when another process or service is already running on one of the ports formsflow.ai requires.
- Possible Cause: You have a local database, a web application, or another Docker container running on ports like
8080(Keycloak),3000(Web app),3001(Forms), or7001(Analytics). - Solution:
- Find and terminate the process using the port (works on both Linux and macOS):
sudo lsof -i :3000
# Kill the process using the PID found above
kill -9 <PID> - Alternatively, modify the port mapping in the
docker-compose.ymlfile under the respective service.
- Find and terminate the process using the port (works on both Linux and macOS):
Q: Container exits with Code 137 (Out of Memory)
[!IMPORTANT] Running the entire formsflow.ai stack requires minimum resource allocations in Docker.
- Possible Cause: Docker Desktop is running with default low memory configurations (e.g., 2 GB), causing database or Camunda containers to get killed by the OOM killer.
- Solution:
- Open Docker Desktop settings.
- Navigate to Resources > Advanced (or resource allocation settings).
- Increase Memory allocation to at least 4 GB to 8 GB and CPUs to 4.
- Click Apply & restart and run the install script again.
Q: "Invalid redirect_uri" error on Keycloak login page
- Possible Cause: The application client redirect URLs registered in Keycloak do not match the IP address or host domain name you are currently using to access the site.
- Solution:
- Access the Keycloak Admin Console at
http://localhost:8080/auth/admin(default credentials:admin/changeme). - Navigate to Clients > select the client (e.g.,
forms-flow-web). - Under Valid Redirect URIs, add your current access URL (e.g.,
http://{your-ip-address}:3000/*orhttp://localhost:3000/*). - Add the URL to Web Origins as well to prevent CORS issues.
- Click Save.
- Access the Keycloak Admin Console at
Q: Services fail to authenticate or token validation fails
- Possible Cause: The host IP or domain configured in Keycloak does not resolve correctly inside the Docker network.
- Solution:
- Double-check your
.envsettings. EnsureKEYCLOAK_URLis set to the host IP (e.g.,http://{your-ip-address}:8080) instead ofhttp://localhost:8080if containers need to reach it externally.
- Double-check your
Q: "Connection refused" or database migration fails on startup
[!NOTE] DB startup order is managed, but slow disk I/O can occasionally cause other services to start before the database is ready.
- Possible Cause: PostgreSQL or MongoDB has not finished initializing schema structures when Camunda or the Web API starts up.
- Solution:
- Simply restart the containers using:
docker compose restart forms-flow-bpm forms-flow-api - If the database credentials were changed, ensure the corresponding variables (
POSTGRES_USER,POSTGRES_PASSWORD, etc.) are updated and match across all dependent services indocker-compose.yml.
- Simply restart the containers using: