Usage Instructions with Example
Set Up Designer, Client And Reviewer Permissions
-
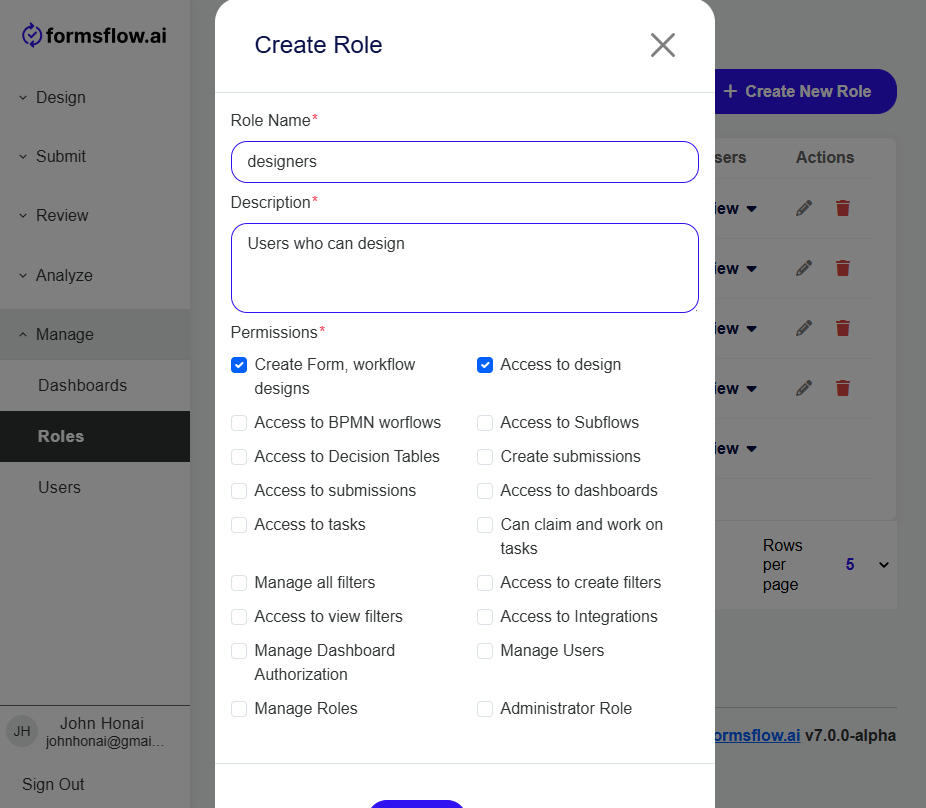
In Manage > Roles you can create "Designers" role and check "Create Form, workflow designs" permission.
-
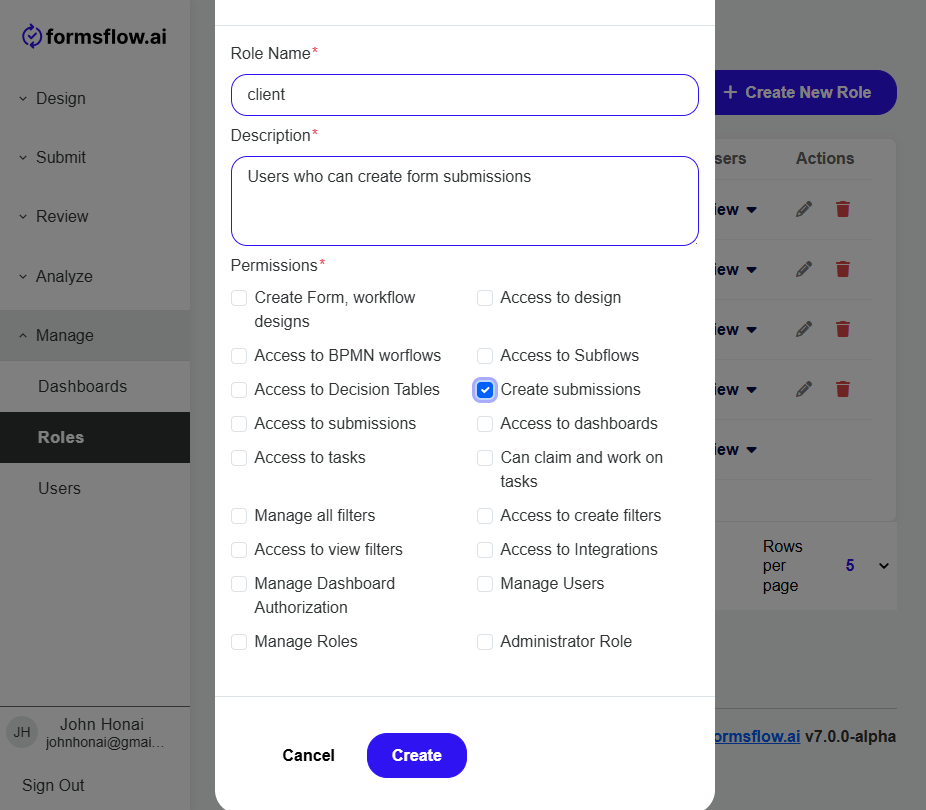
Then create "Client" role and check "Create submissions" permission.
-
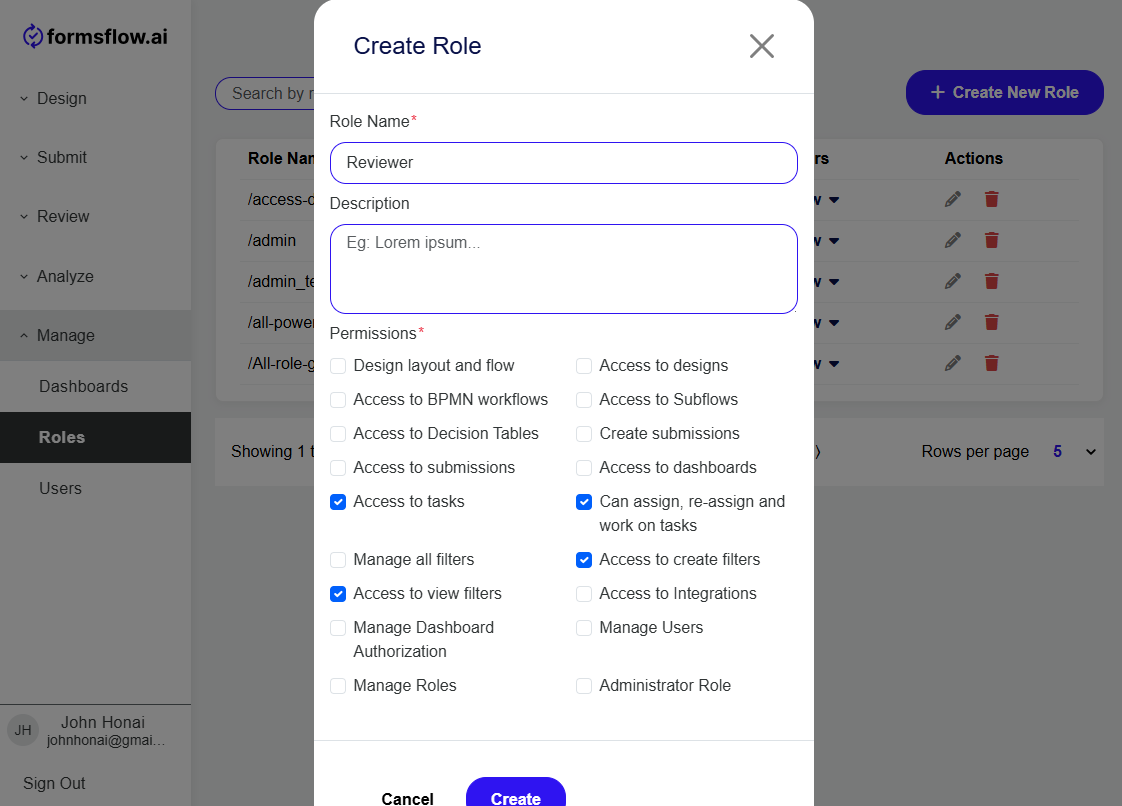
In the similar manner you can create "Reviewer" role and check "Access to tasks" and "Can assign, re-assign and work on tasks" permission, as well as "Access to create filters", "Access to view filters" and any others if needed.
-
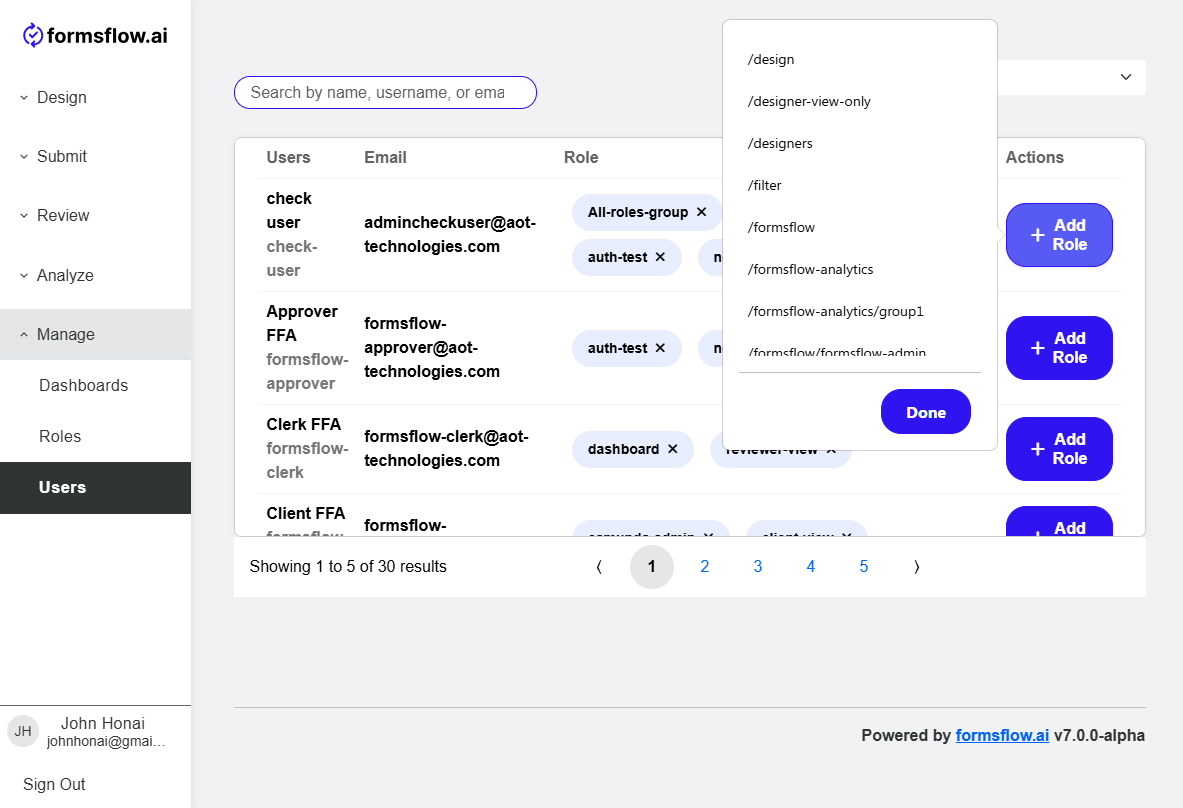
Now you can go to Manage > Users to assign the roles to specific users by clicking "Add Role" and clicking on the roles ( /designers, /client and /reviewer ).
Designer Steps
-
Log in to FormsFlow with the cridetials of the user you have assigned the Designers role to.
-
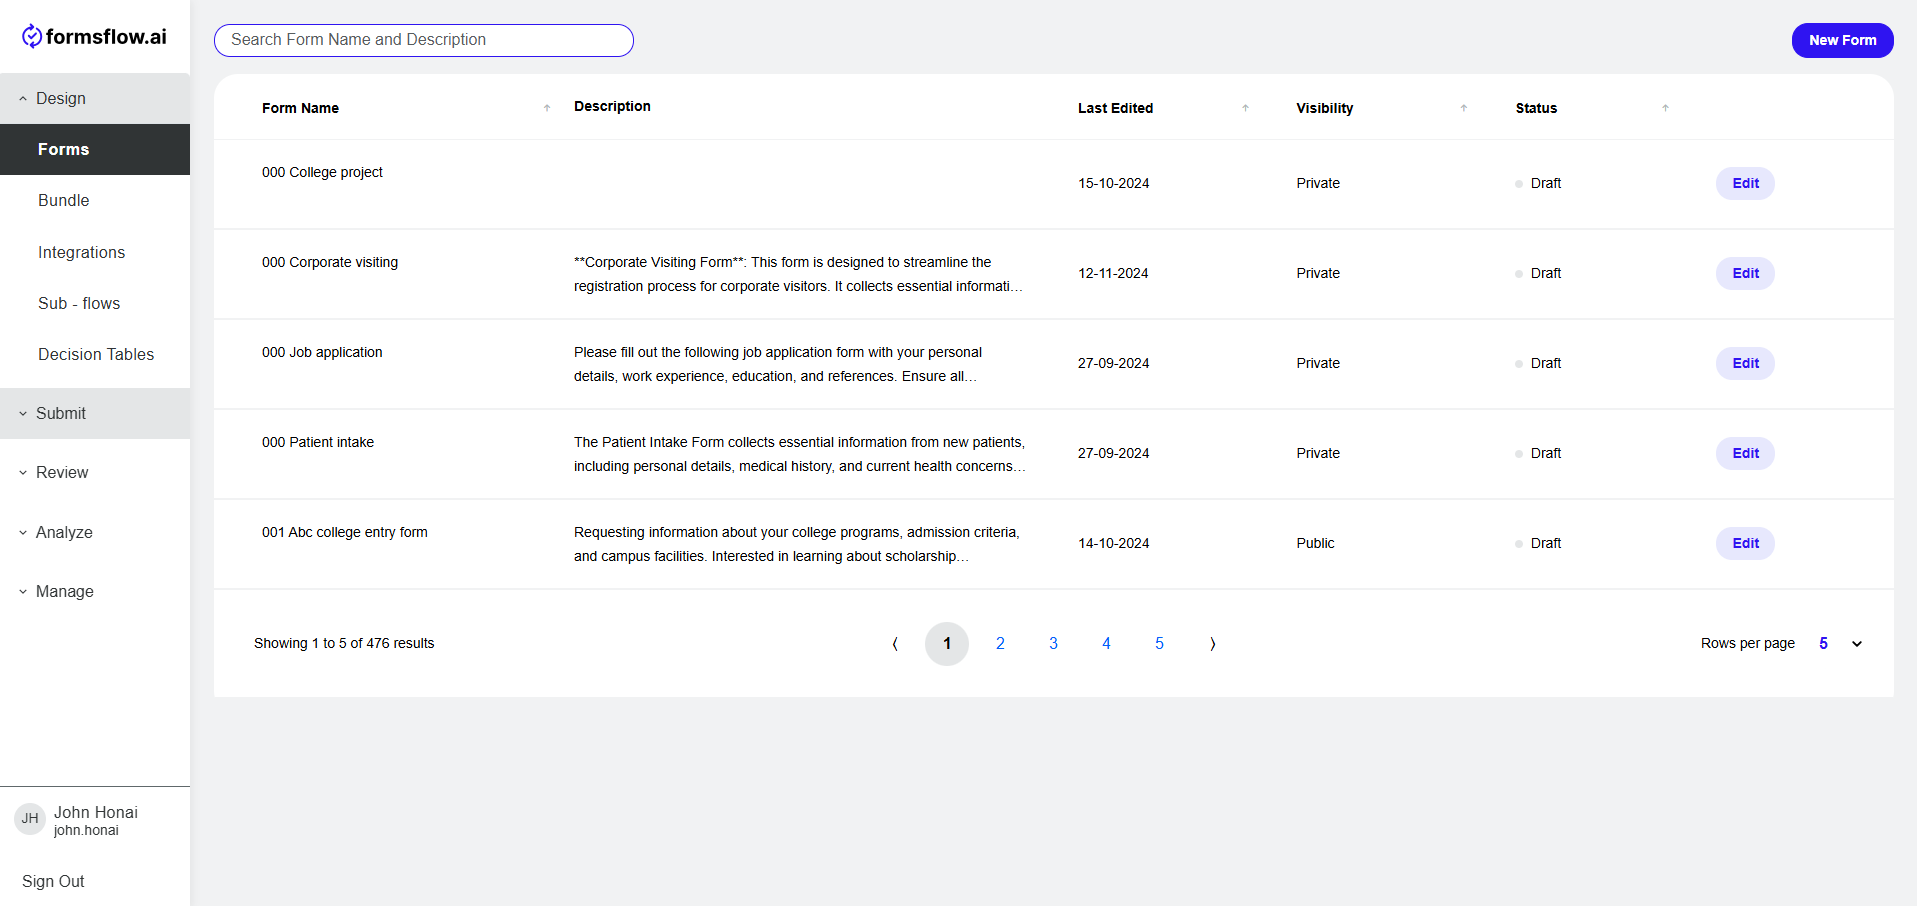
After the login is successful you will be able to Create / Import / Export / View / Edit / Delete forms.
-
A new form can be created by a few methods: building a new form, importing an existing form from a file, using an existing template, or using AI.
- Create a New Form
-
Click on New Form Button. In the popup select "Build". In the next popup provide a name and a description (optional), as well as you can allow the creation of a form with multiple pages. Once done click "Save and Edit Form"
-
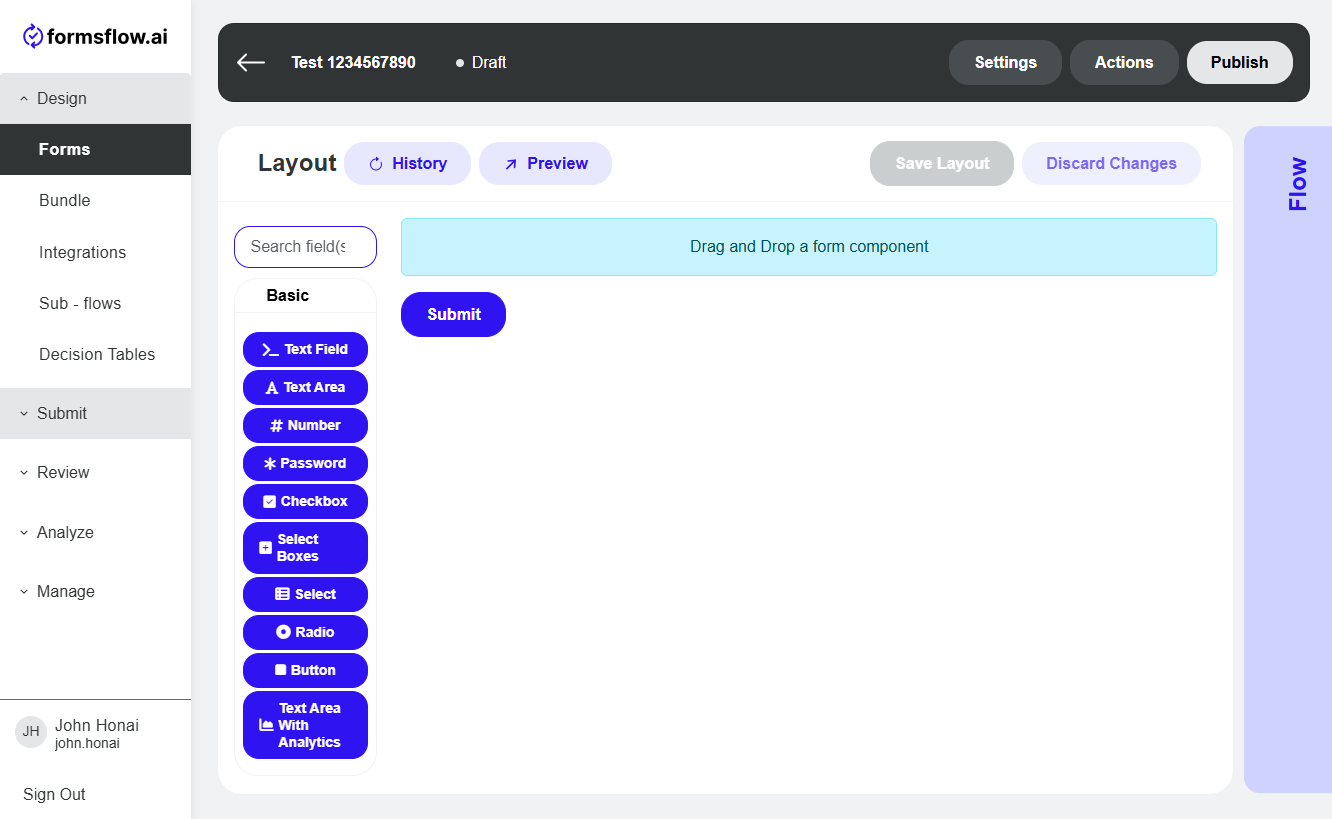
Form editor opens up.
-
Drag and drop the required components, to build the form's layout.
-
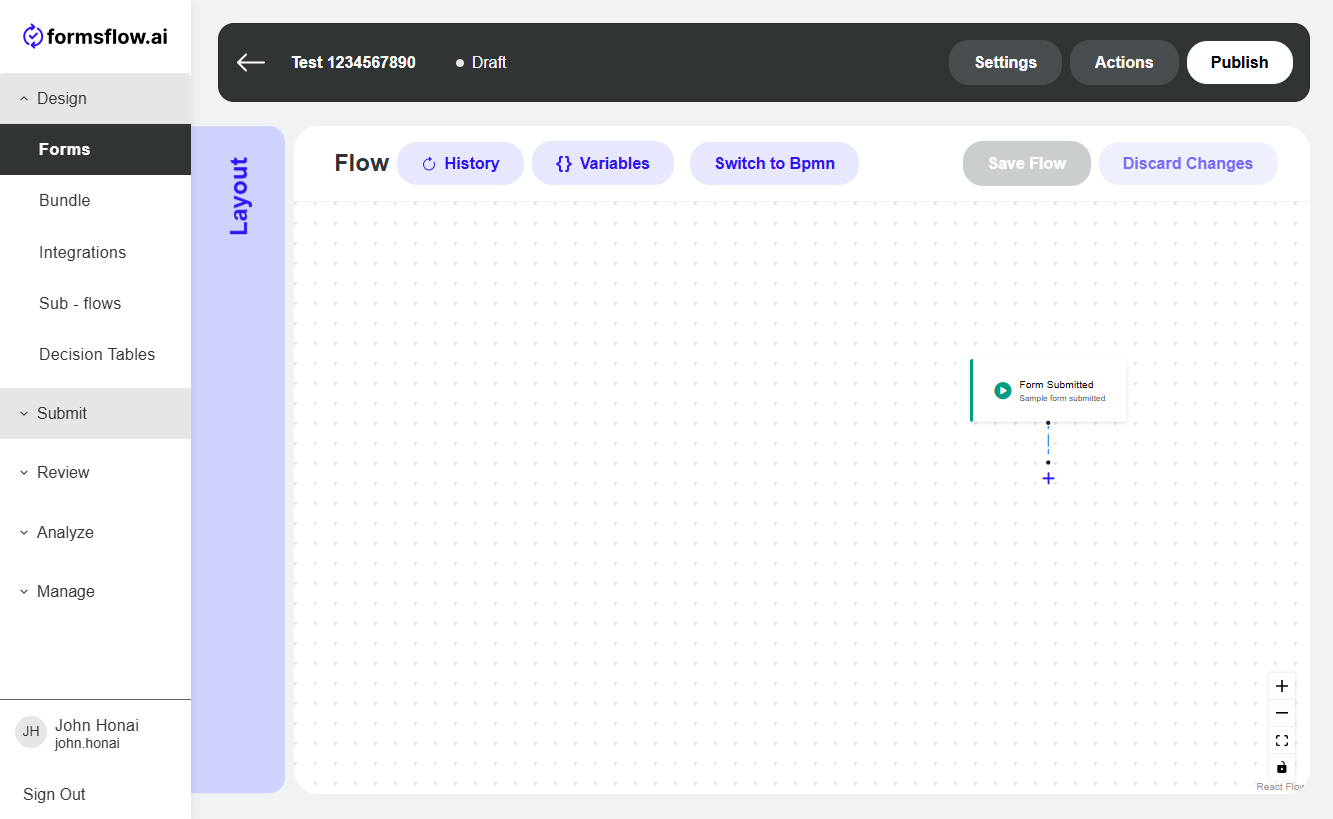
Once done, save your layout changes (by clicking "Save Changes" button) and switch to the form's flow by clicking large "Flow" button on the right.
-
Add the required actions and conditions by clicking on the "+" button in the flow's interface. Flows are a set of actions that will execute after someone submits the form.
-
Once done, save your flow changes (by clicking "Save Changes" button) then click "Publish" in the top bar on the right.
-
That's it! Your form is now live!
- Upload a form
- A form in JSON format can be uploaded using the same "New Form" button.
- Use a template
- To create a form starting from a templates, click "Use Template" in the New Form popup and select from available templates.
- Use AI
- To create a form using our AI assistant, click "Use AI" in the New Form popup and describe to the AI bot which fields you would like in your form.
-
We have an example form you can import.
Client Steps
-
Now log in to FormsFlow with user credentials for the client.
-
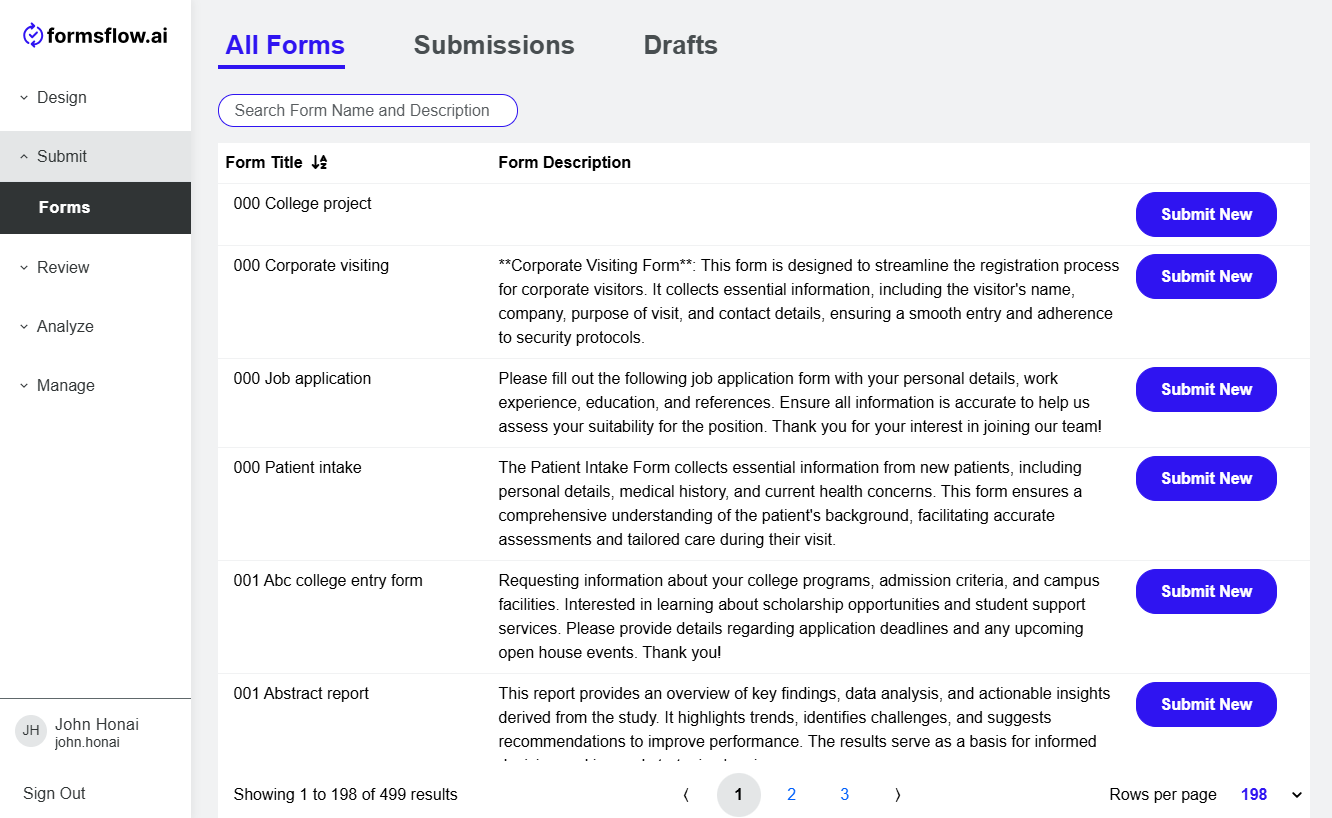
After the login is successful you will be able to View and Submit a form.
-
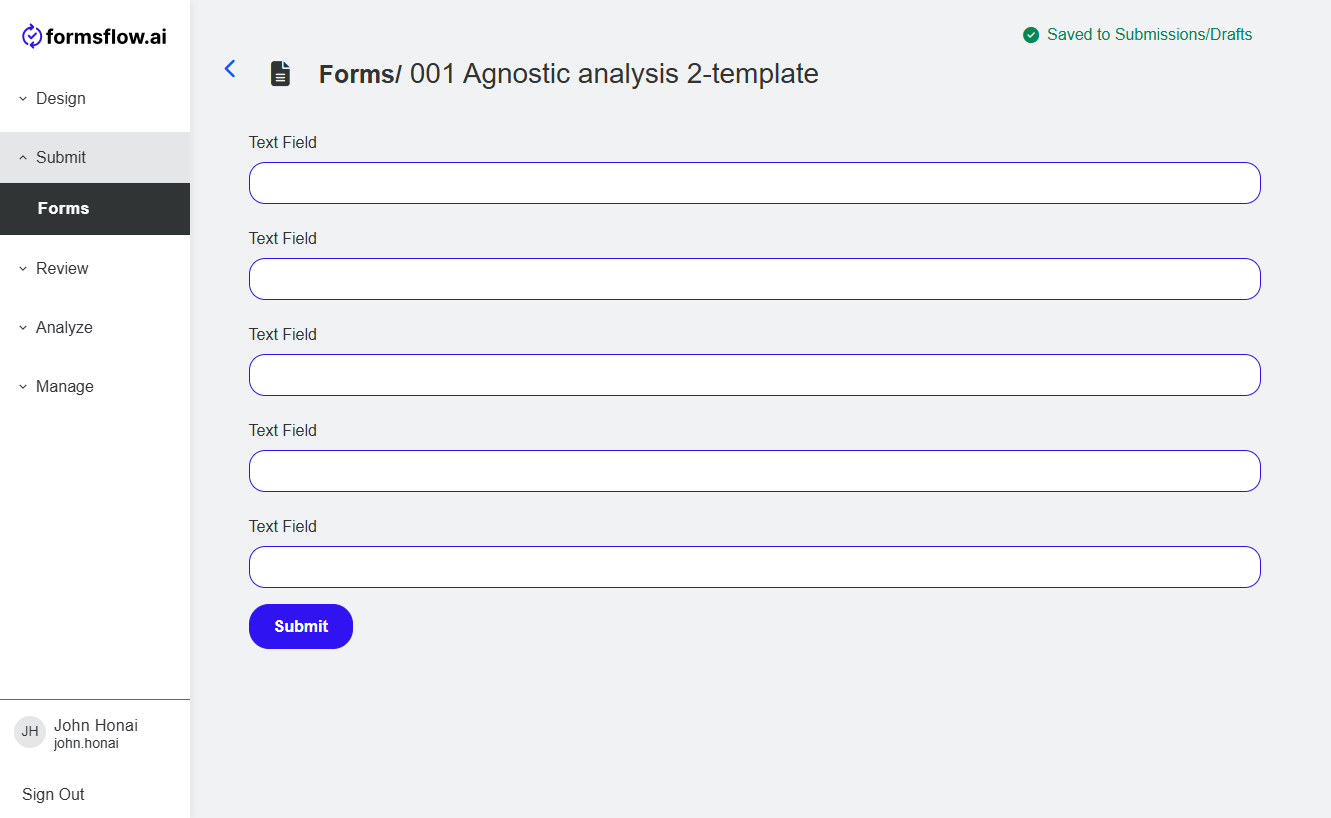
Pick your form and click "Submit New" button.
-
Once the form is filled in and submitted, its flow will start executing.
-
If you have a "Create task" as one of the actions in this form's flow you can now log out of the client's account and log in as a reviewer.
Reviewer Steps
-
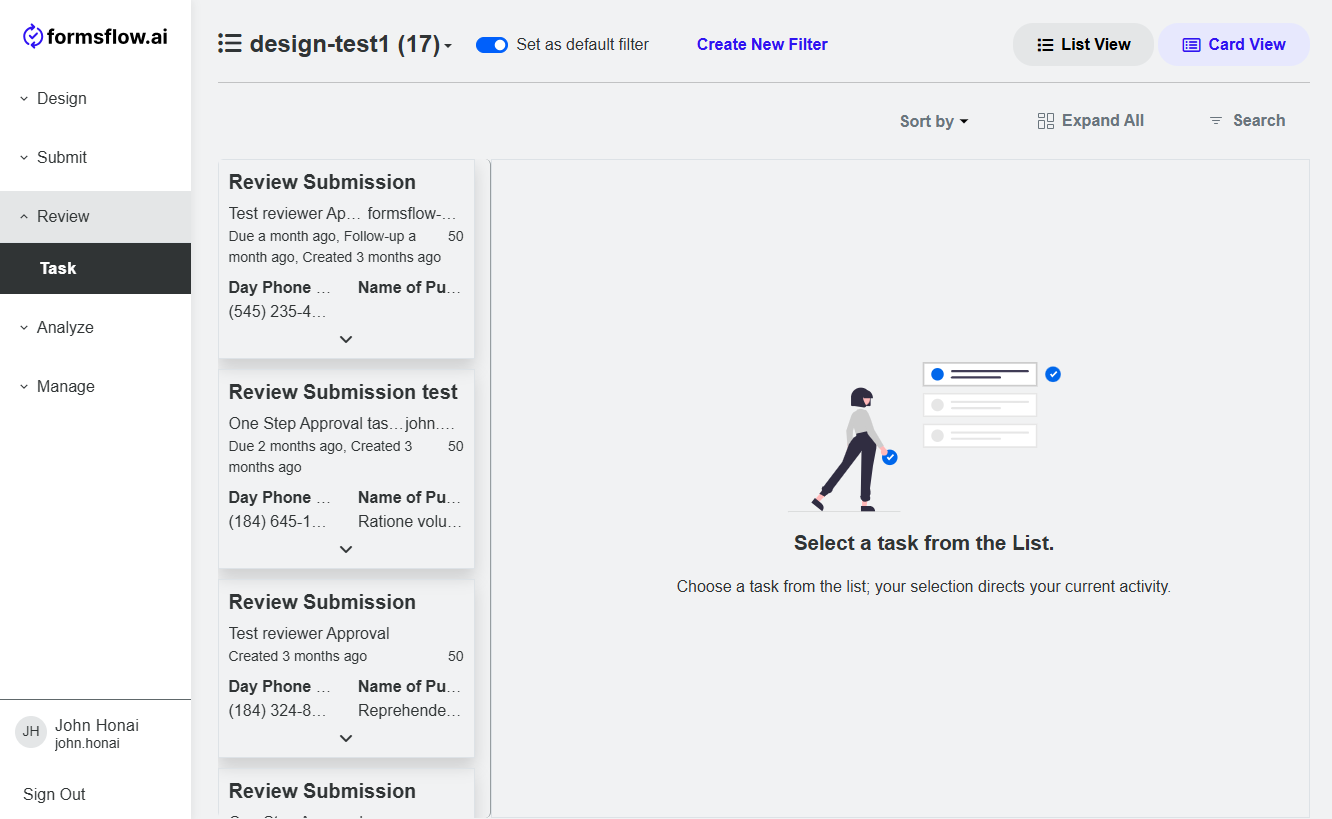
Log in to formsflow with valid [default user credentials for the reviewer](default user credential.html).
-
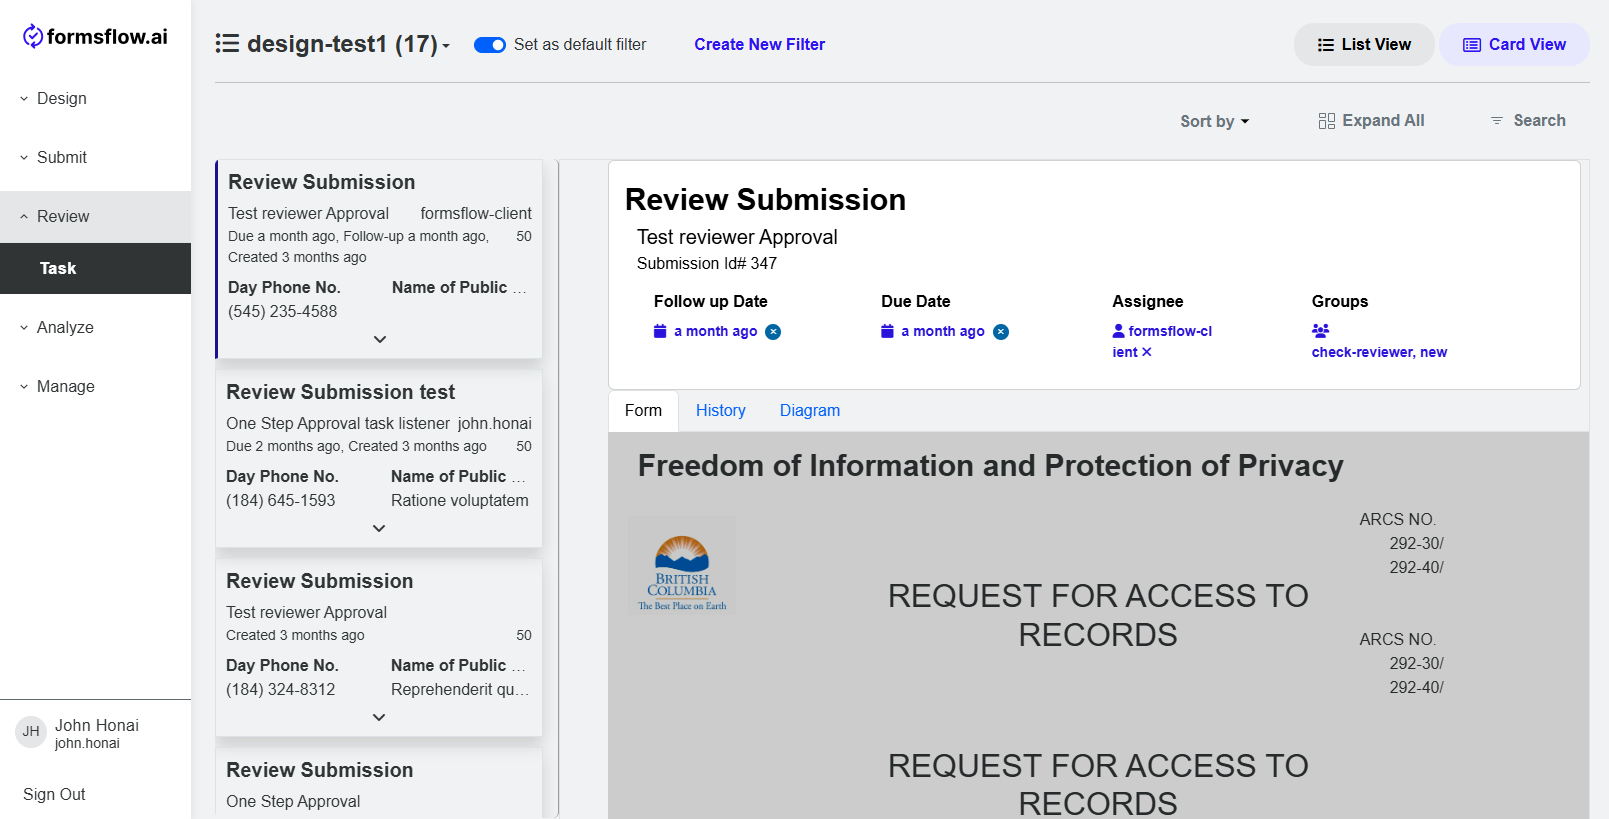
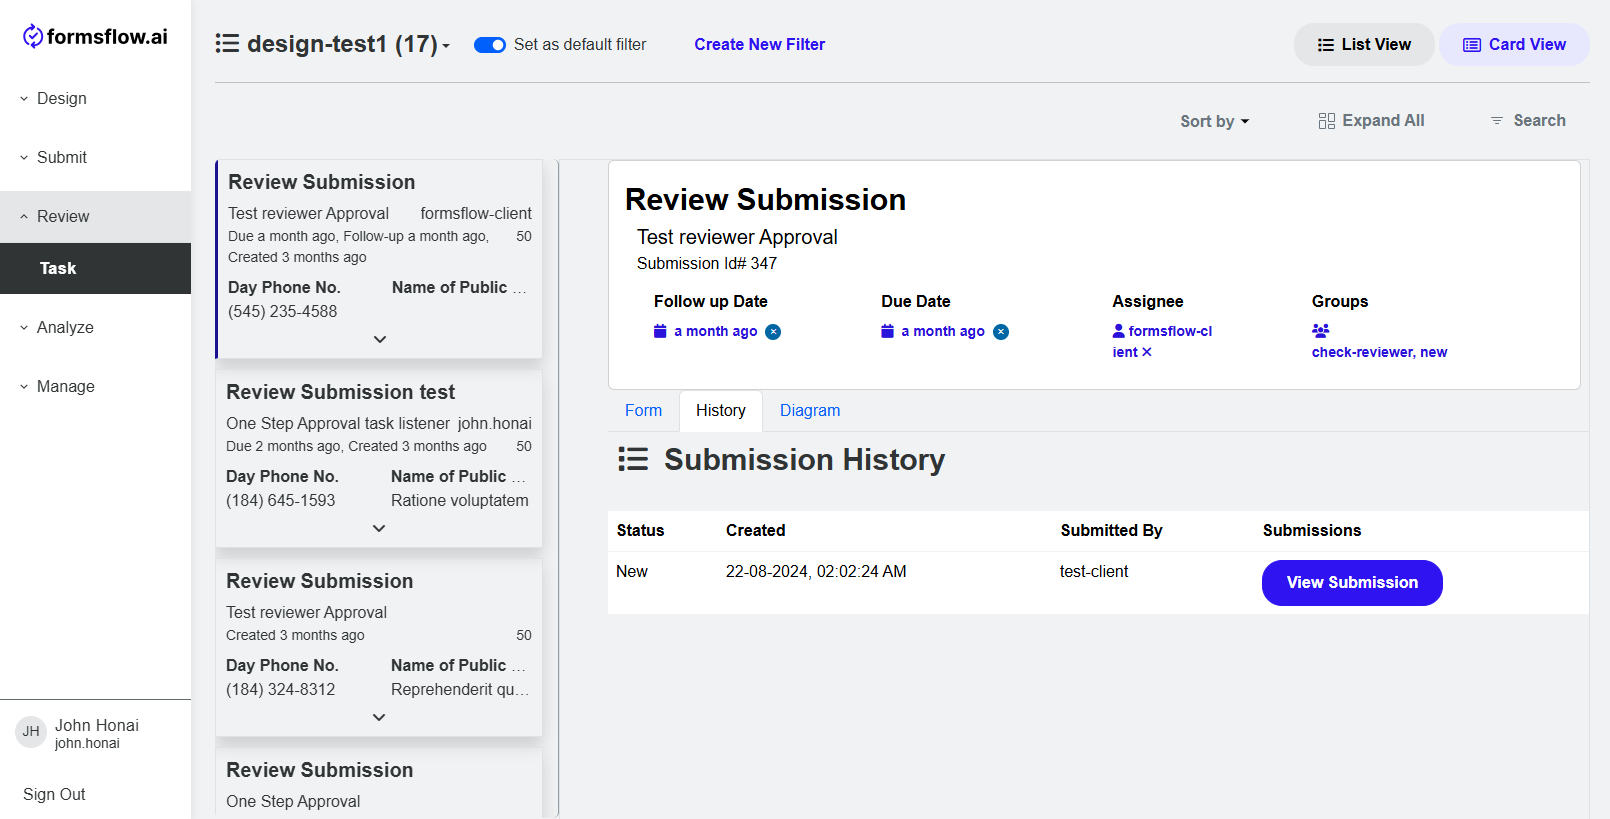
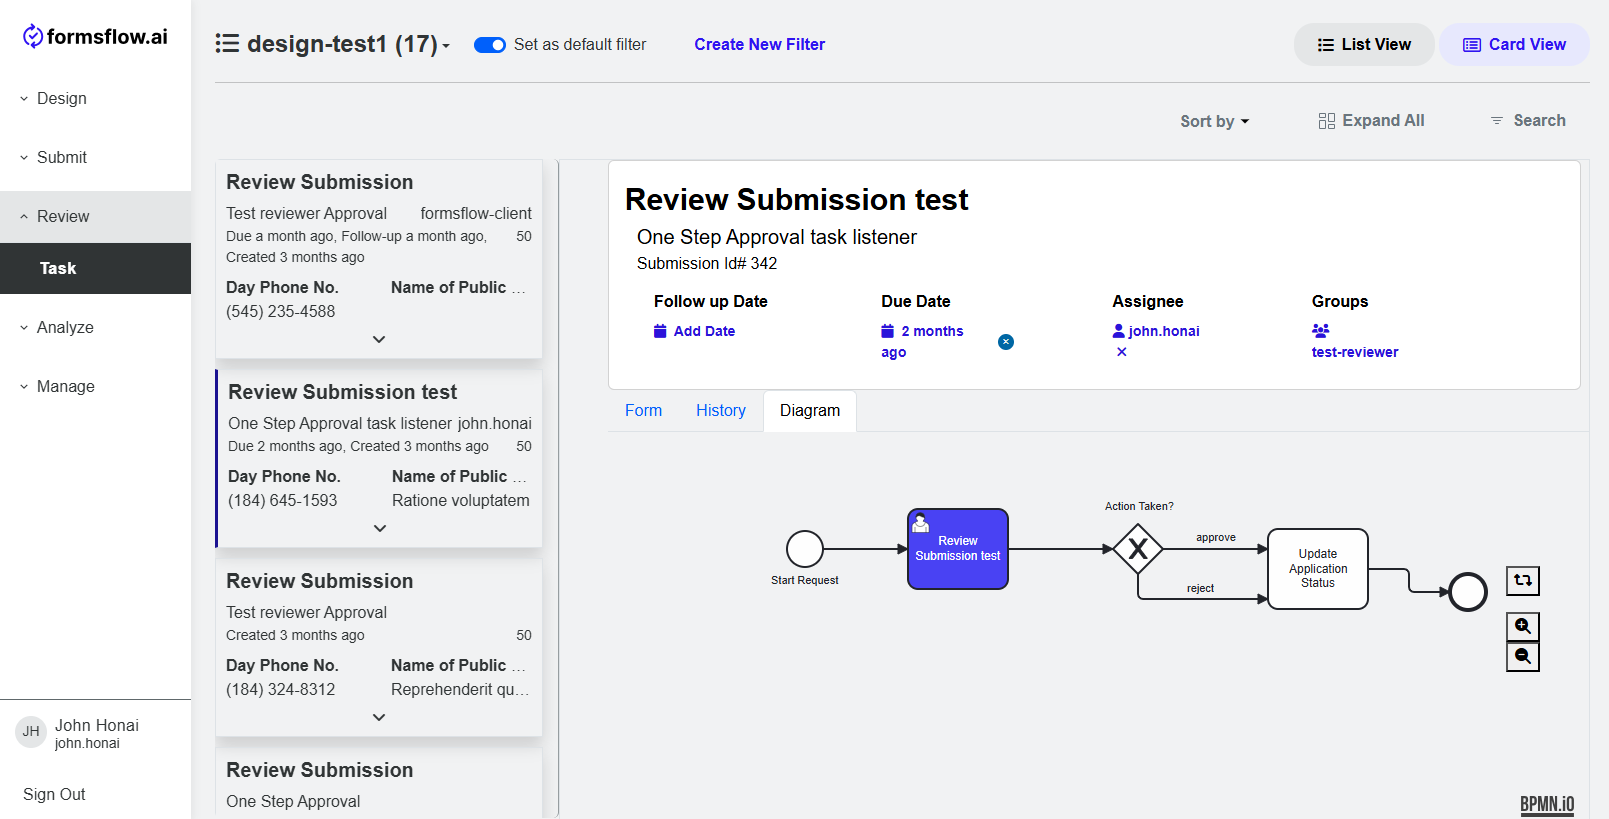
You can View the task and the submission by clicking on one of the card on the left.
-
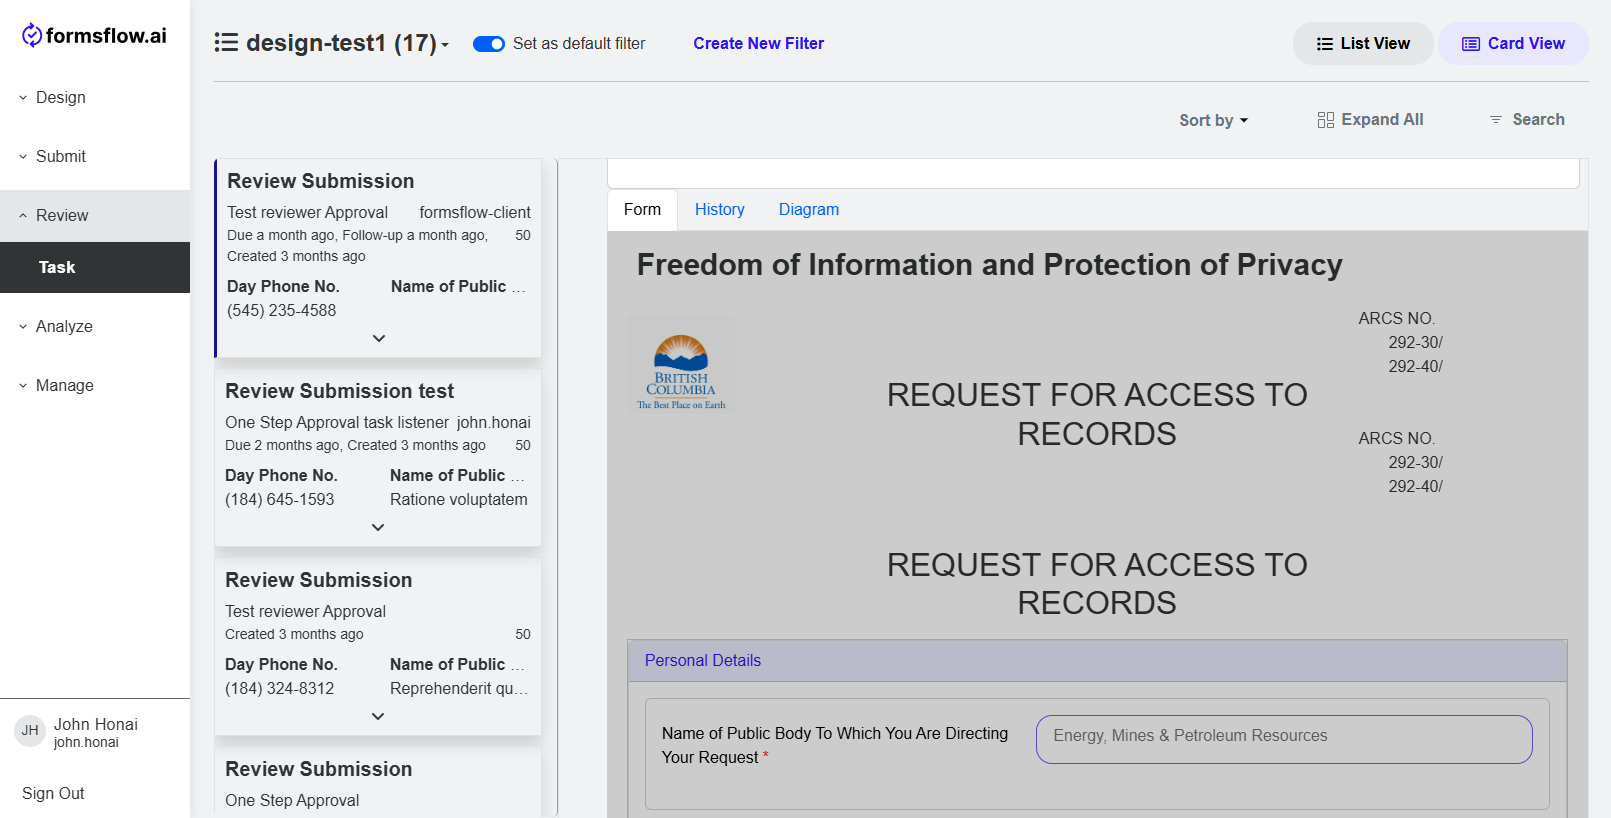
On the task details page you can see three sections - Form, History, Diagram.
-
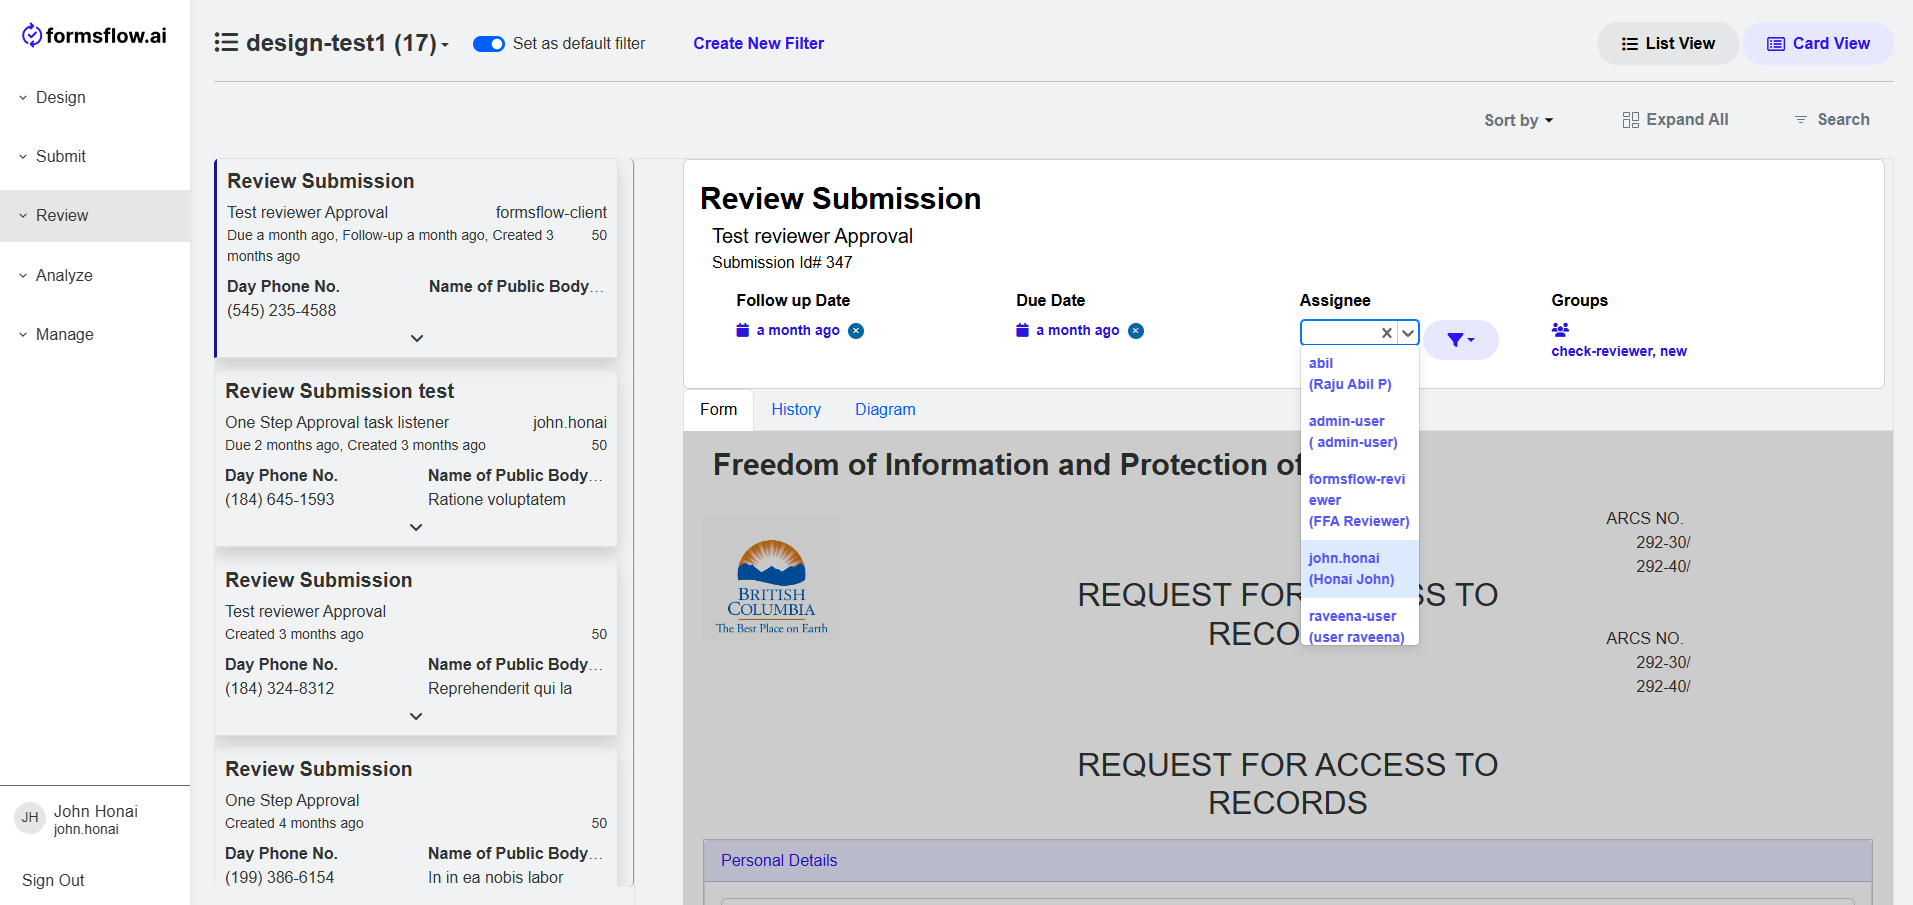
In the top section you can claim the task by assigning it to yourself.
-
Fill in the section that is there for the reviewer (usually on the bottom of the form) and pass it on to the next and submit, which will pass it onto the next action in the flow.